Hope y'all had a great Halloween!
If you read my post
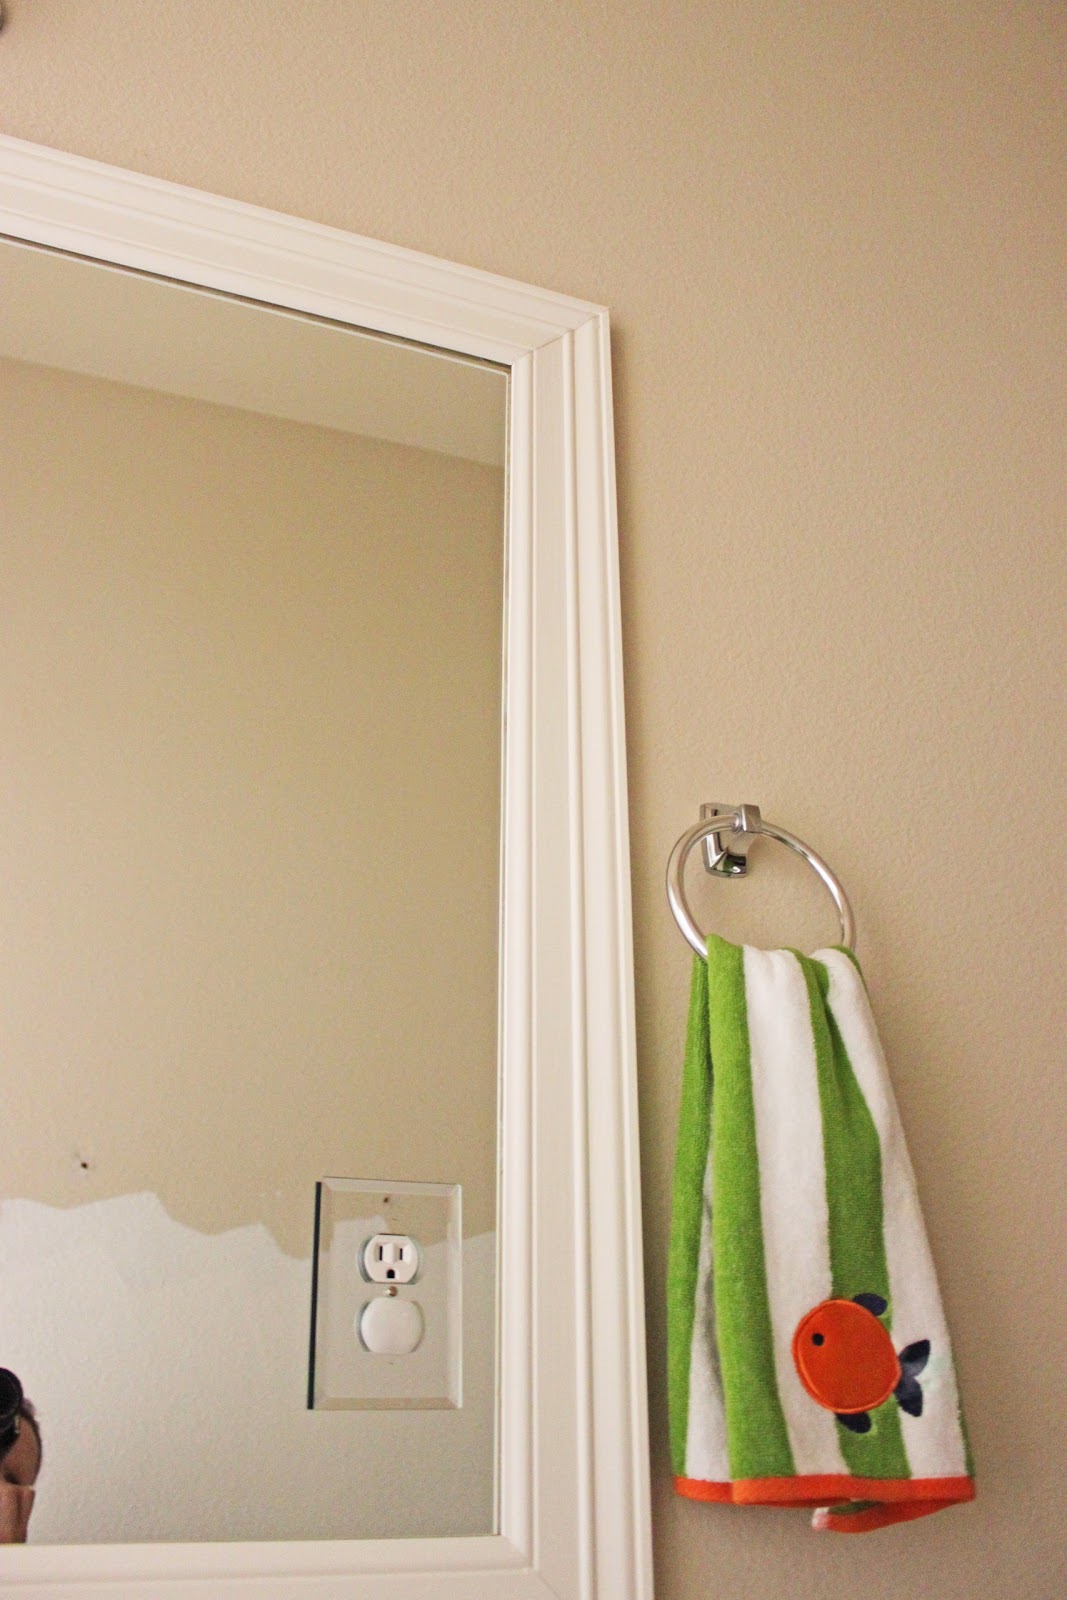
here, you've seen how my plain, boring mirror turned into a framed beauty!
Before:
After:
Here's the How-To!
Supplies needed:
Molding (my is actually window casing, and is 3.5" thick)
Trim Paint (I use semi-gloss finish)
Liquid Nails
Paintable Caulk
Miter Saw
The first thing I always do is paint my boards! Paint the front AND back. The backside will reflect in the mirror.
Next up, measure your mirror.
I measure one side at a time, and cut the molding for that side. I clearly label each piece, because each side will be a littttle different (around .25" difference)
(I forgot to take a picture of me cutting the molding....a pic of my miter saw will have to do!!)
After you've measured and cut all four sides, time to put it up!
I used liquid nails, and glued right to the mirror.
Make sure you level each piece....
To make sure none of my pieces moved while drying, I used blue painters tape to hold them up.
After they were all dry (I let my pieces dry overnight), I caulked the four corner seams.
I then gave a touch up coat to the corners that I caulked.
All done!
Close up of the corners:
Cost Breakdown:
Molding - $20
Paint - Leftover from previous projects
Caulk/Liquid Nails - Leftover from previous projects
Total: $20!
***for those of you that have those pesky plastic mirror holders***
These were holding up my mirror on top:
I could not glue the molding on top of them! After googling around a little, I figured out that I could just unscrew them,
and then shoot a little liquid nails behind my mirror.
I let that dry overnight. I took off the mirror holding thingies the next morning, and voila! Done! No more pesky mirror clips.