Friday, November 8, 2013

Pantry Makeover!

Pin It

We recently moved into a new house, and I have had so much fun decorating, painting, and all that a new house involves.

One thing has been lurking-and driving me nuts.  

Our scary pantry. 

This is the scary before picture.  
Brace yourself!


I could never find anything.  Ever!


Here are a few {easy} things I did to spruce it up!


First, take everything out.  You've got to start with a blank slate!


To add some interest to my plain old walls, I decided to wallpaper!  I found some *awesome* wallpaper. (source at end of post)  

It's "peel and stick" and "repositionable".  It is COOL stuff!


It really was just like a giant sticker.  
Cut it to size, and stick it on!


It was SO easy to install.  


It only took about 30 minutes to get these prettied-up walls.


I was loving the look of it.  


Next up, gather bins, buckets, baskets, crates, and pretty glass jars to organize all your food.  


My favorite places to get items like this are IKEA, Target, Wal-Mart, and shopping my own house!


Here is my after picture.  
Since I know that's the one you really want to see!


The left side view:


And, the right side.


Here are a few shelves, with details I love.


Baking Stuff


These frosted glass jars are so fun!  The lids have a great seal on them too.  It's kept my baking stuff fresh.


These "linen" bins are one my favorite things in this pantry.  They are perfect for all those random baking supplies!


Legumes, Pasta, Grains

These metal baskets are perfect for holding bags of quinoa, cous cous, rice and pasta. 

I heart them.


Love having all my legumes in glass containers.  Much more fun than bags of beans falling off the shelf!


Cooking Oils

 This bin was a little trickier to find.  I have a lot of bulky bottles, and way too many kinds of oil. Plus, my shelves are a little narrow.

This bin is actually for drying dishes, but sure works to store oils in too!


I might be slightly obsessed with those gray bins with the leather handles.  

So. Lovely.


Breakfast Food & Snacks


These cereal dispensers, which I wisely put at a level my kiddos can reach, make my day SO much easier.  My kiddos can help themselves to whichever kind they want.  They can take care of the seconds too!


For sure the favorite after school spot for my kiddos!  These labels are just paper, so I can switch them up easily if I need to.


Spices


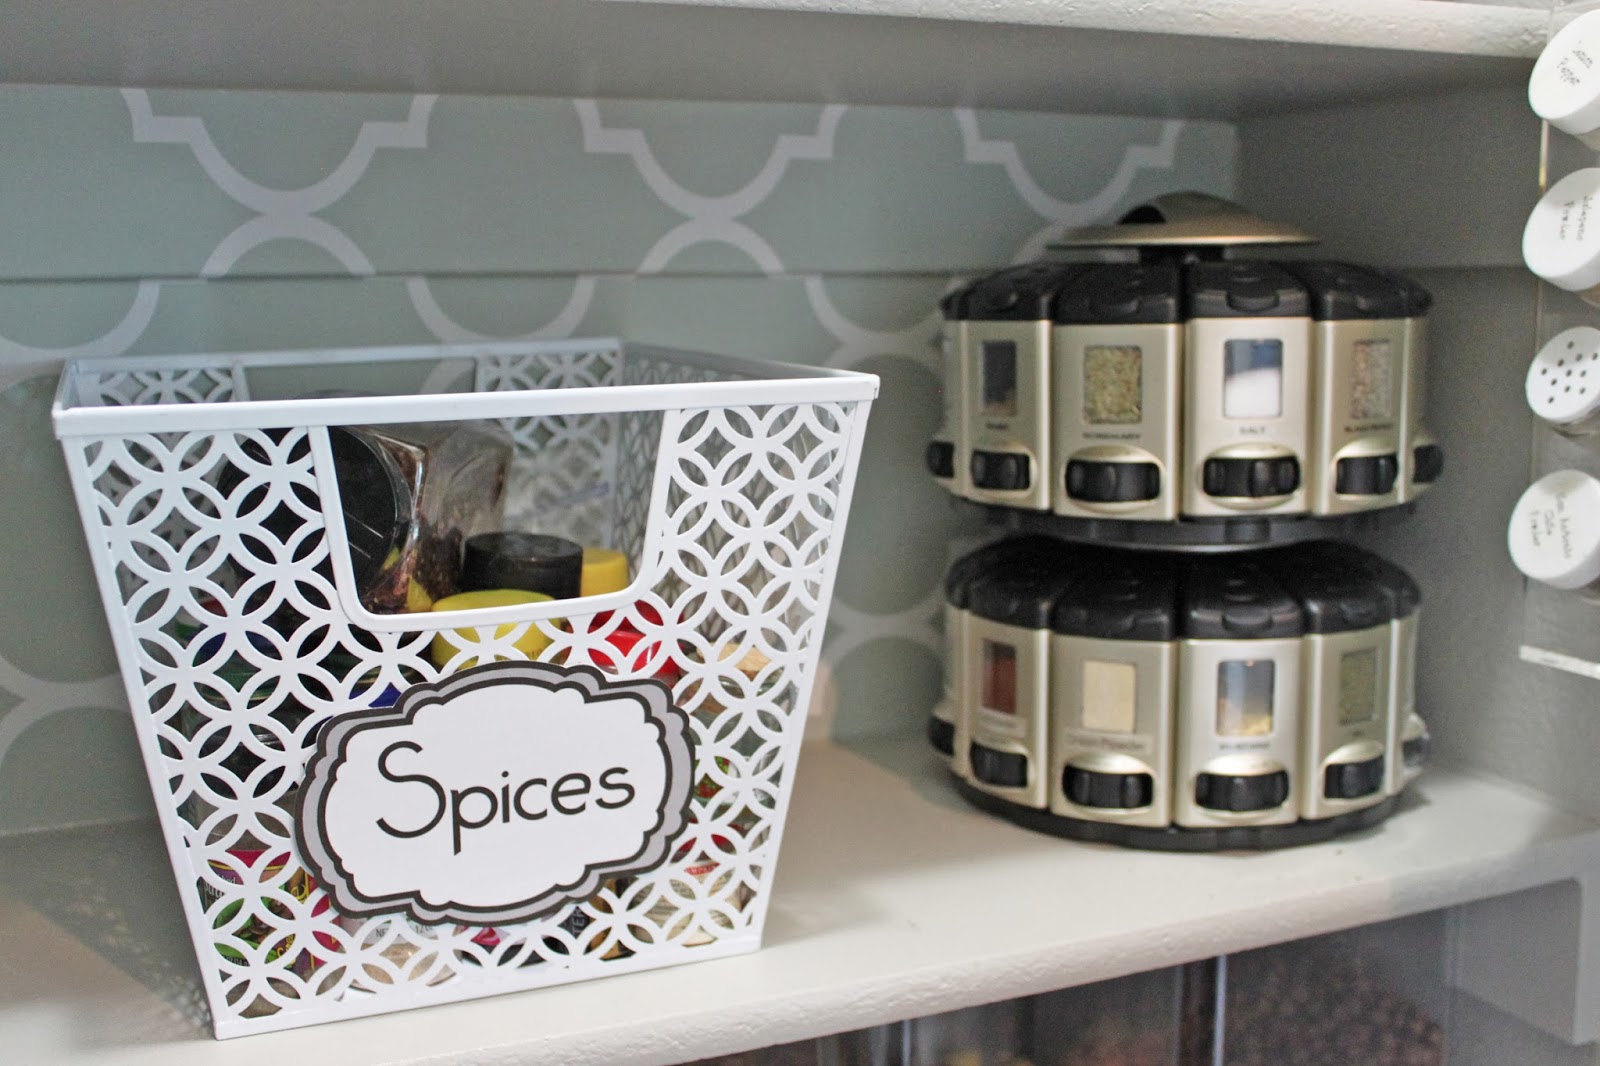
My spices are now neatly tucked in a corner.  Anything that didn't fit into that nifty spinning spice thingy, is now in a pretty white basket.  

The spinning spice rack (which also measures your spices!) is something that I use multiple times a day.
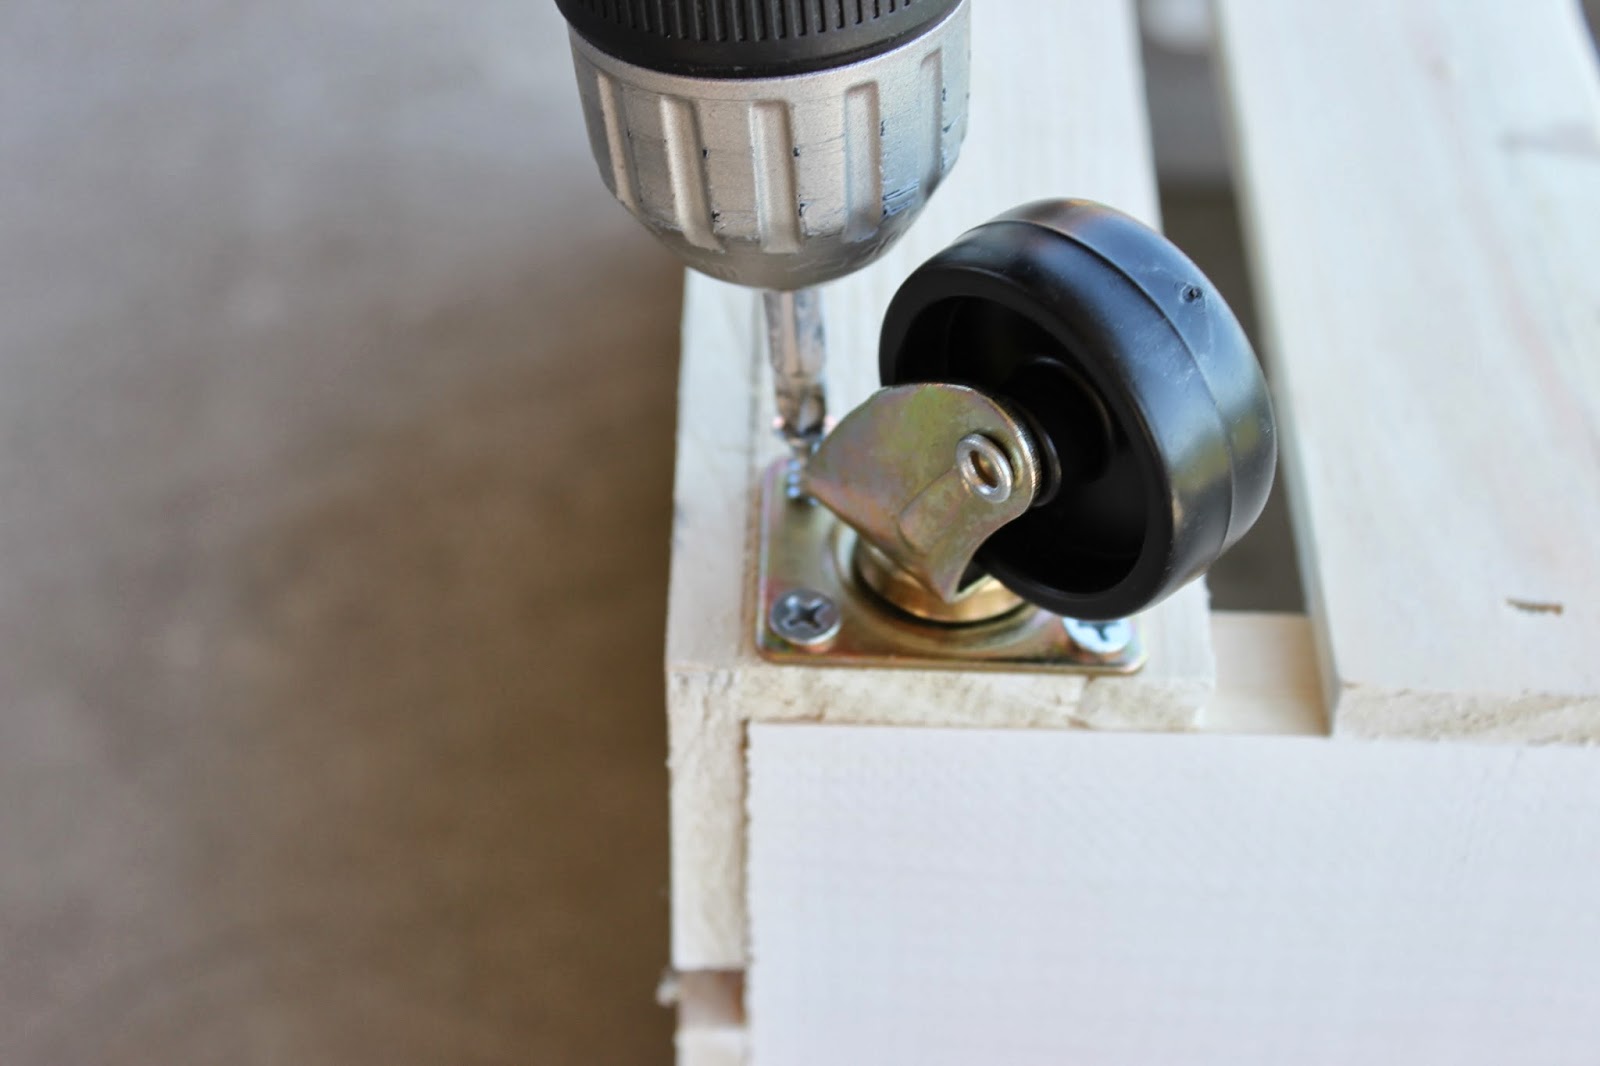


DIY Wood Crates

If you are like me, you hate food on the floor.  To see how I solved that dilemma, click here!


Source List for Pantry

Wallpaper                         Etsy
Food Labels                       Etsy
Frosted Glass Containers       IKEA
Linen Bins (baking supplies)      IKEA
Metal Baskets (grains & pasta)   Target
Glass Containers (legumes)    IKEA
Large White bin (cooking oils)    Target
Grey bins w/leather handles   Target
Cereal Dispensers                  Amazon
White bins (snack foods)          Target
Spice Basket                       Target
Rotating Spice Rack               Amazon
Rolling Wood Crates   DIY @ A Little of This, a Little of That


Linking up here!


Friday, November 1, 2013

Pantry Makeover!

Pin It
I showed you here my latest DIY....rolling wood crates!


It's been a few weeks since I started using them, and I LOVE them!  They are seriously so handy.


I hinted in that post that I was working on a full pantry makeover.

It's finished!


To get the full details, head over to my guest post at Gingersnap Crafts!

Friday, October 18, 2013

DIY {Rolling} Wood Crates

Pin It
It's been a while since I posted!  I've been so busy with school starting back up, soccer, and preparing for all the upcoming holidays.


In the middle of all that craziness, I've been working on something really fun.  A full pantry re-do!


You'll have to wait until November 1st to see the full reveal-when I guest post over at GingerSnap Crafts.


For now, here is one of the many projects I tackled to get our horrid pantry in pristine condition.


As with my of DIY projects, this one started as a need to solve a problem-I needed a way to keep food off the floor (my pet peeve!)


The solution I finally came up with was wood crates that roll!  
I didn't want our wood floors to get scratched up by them, so wheels were a must.


I ordered some wood crates from Home Depot.  I know Michael's and Joann's carry them too sometimes.


At first, I thought I would stain all of them.


I loved this weathered gray stain.  But staining was a total pain! 

 I'm a FAST DIY kind of girl.  

So after one crate, and my feet looking like this:


I was DONE with staining.  I had no idea it was so messy, or time consuming.


Out came my trusty spray paint for the other two.


After spray painting and staining were done, it was time for the easy part.  Adding wheels!


I bought these wheels that roll AND swivel (fancy!) from Lowe's.


Each wheel took four screws.  Save yourself some time and use a drill!


The wheels are cute, and make it so much easier to pull the crates in and out of the pantry!


Add a little vinyl, and done!


Saturday, September 7, 2013

Fall Wreath Tutorial

Pin It
Fall is coming!  
At least, in our 100 degree heat, I keep telling myself that!


I made an easy fall wreath, and wanted to share.


Supplies
  • Wreath form (I use an 18" one)
  • Brown Yarn
  • Felt in fall colors
  • Scissors
  • Glue Gun
  • Corsage Pins (found at Hobby Lobby)


Directions

First, wrap that wreath.
I found this great, THICK, yarn at Wal-Mart of all places!


Just wrap around and around.  This step will take you a while!


Next up, make some felt flowers.


First, trace a circle on your felt.  
My circles were about 3-4" across.  You can do any size.


Cut out your circle.


Next, start cutting your circle into a spiral. 
 This does not need to be perfect, or precise.


Keep cutting.....


Once you have your spiral, start rolling!  
Start from the outside edge, like this.


Roll, not too tight, but not too loose.


Should be looking pretty cute by then end!


Roll it all the way until the end.  
The very inside part of the spiral is like the "foundation" you will glue your flower to.


Hot glue your flower to the the "tail".


Now, make a ton more of these flowers!


To attach them to the wreath, use a corsage pin.  


For the multi-colored ones, just roll 2 colors of felt together.


Told you it was pretty easy :)