


I am SO excited for Christmas! I've been thinking about it since October.
It is my favorite time of year!
To countdown the days until the big day, I decided I wanted something framed.
I wanted something nice looking!
Here it is:

Now, for the quick How To!
Supplies Needed:
Frame (any size would work)
Chalkboard paint
Sponge paint brush
Christmas-y scrapbook paper
Vinyl lettering
Transfer tape (for your vinyl)
Contact Paper
Craft Stick
1. Prepare your frame, if needed.
Mine started out like this:

A few quick coats of Krylon Black spray paint, and it looked like this:


2. Prepare the glass from your frame for painting-

3. To make the chalkboard circle, you will be using contact paper as a pattern. I used my Cricut to cut out a circle. (you could cut out a circle by hand also) I simply placed the contact paper on my Cricut mat paper side down:

4. Leave a good amount of space around the circle cut out, like so-

5. Carefully peel off the paper, and apply your "pattern" to your glass. Make sure you center the circle, and press down the edges firmly. You don't want any paint to leak under the contact paper.

6. Once you have centered your "pattern" you are ready to paint!

7. Start painting inside the circle with your chalkboard paint. It will probably take a few coats.

8. While your chalkboard paint is drying, you can apply your vinyl lettering if you have some pre cut (just go to step 11!). Or, if you are cutting your own vinyl, keep reading!
How to cut your own vinyl lettering:
* Apply your vinyl to your Cricut mat, color side up.
* You want the Cricut to cut through the vinyl, but NOT the paper backing. To do this, your Cricut settings should be Speed (3), Pressure (3), Blade Depth (3).
* Once you have cut your vinyl, you want to "weed" it. This means peeling off the excess vinyl around your lettering. Like this:

* Your vinyl should look like this when you are ready to apply it:

9. To apply your vinyl, you will want to cut a small square of transfer tape and place it on top of your vinyl.

10. Flip over your vinyl, and rub on it until it is stuck to your transfer tape.
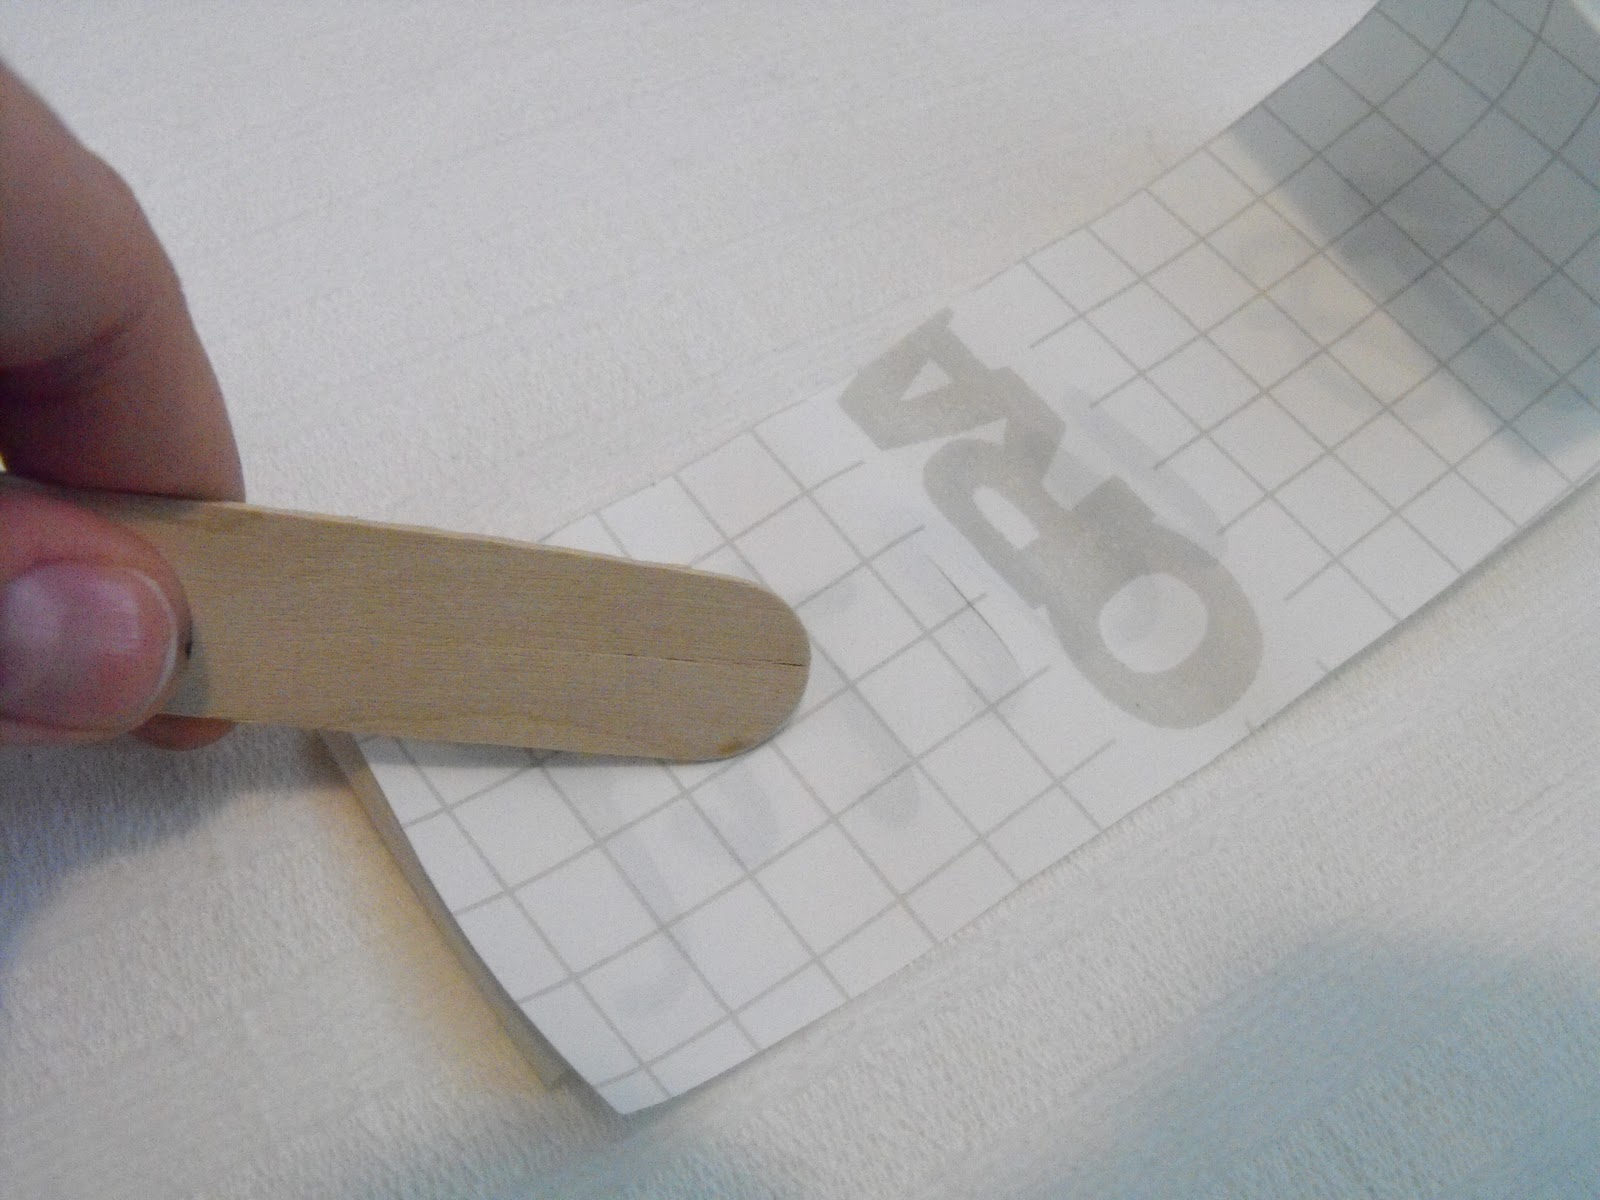

11. Center your vinyl under your chalkboard circle, and stick it on your glass. Again use a craft stick to rub on the vinyl, and apply it to the glass.


12. Repeat to apply the word "Christmas"

13. For the background, I cut a piece of cardboard to fit the size of my glass. I then went through my stash of cute Christmas scrapbook paper to find a background I liked.

14. I cut my scrapbook paper to the size of my cardboard (it took two 12x12 pieces of paper), and used double stick tape to adhere it.


15. I then put it all together! Place your glass on top of your background, and put that inside your frame.
oh, and of course use some chalk to write in your countdown number!

close up of the awesome chalkboard circle:


.jpg)
.jpg)


