Tuesday, February 22, 2011

Vinyl Lettering on Fabric Storage Bins

Pin It
Mr. A's big boy room is nearing completion!  I can't wait to show you the pictures!

We bought an awesome storage system for his room (more to come on that later!), and it can hold 6 large bins.

After looking all over (and I do mean allllll over) I found these bins at Lowe's:


I was digging that they were chocolate brown inside-


and I really liked the "linen look".  It added some needed texture.


I had been planning on numbering them-I love things that are numbered!

So, I grabbed some paint, and made some "stencils"  out of vinyl.


I FULLY planned on painting on numbers....and then I stuck a vinyl number 1 on the bin to see how the size looked.  Well, it stayed on really well.  

I liked the way it looked so much that I changed my mind about painting!  I just put on those vinyl numbers, and I think they look great!


And yes, those bins are all full of toys!  


I put on the vinyl about a week ago, and it shows no signs of coming off. 

It has withstood Mr. A so far. 

Plus, if I get tired of the way it looks, or want to use the bins somewhere else in the house, I can easily take of the vinyl!

Linking up to these parties!

Friday, February 18, 2011

EASY Spice Organization

Pin It
I know I've mentioned before that we love to cook at our house-A LOT!


We prettttty much have every spice known to man.


To organize some of our more "random" spices (that I use in small quantities), I got this great little spice rack from The Container Store.  (Click here to see it)


It came with the option of hanging it on a wall, or stand alone.  I chose the stand alone option.


I filled it with spices.....


The problem was, the pre-printed spice labels that came with the set didn't include any of the spices I needed!  It was all generic stuff like "thyme, oregano, etc".  I cook with way more fun spices than that!


So, I came up with an easy way to personalize any spice rack you buy.


Grab some of theses: (found mine at WalMart)


 (note that these are CLEAR labels...I like the way the clear ones look much better)


Using Microsoft Word, I printed a whole page of my spice labels.

(sorry for the poor quality....the screen shot of my computer is fuzzy, I know!)


After printing my labels, and cutting them down to size, I added them to the top of my spice jars.


Ta da!


After doing that for all my jars, I'm now super organized, and it's been personalized for my spices!
Close Up:

From the front:


Total Project Time: 30 minutes

Monday, February 14, 2011

Board & Batten Tips and Tricks

Pin It
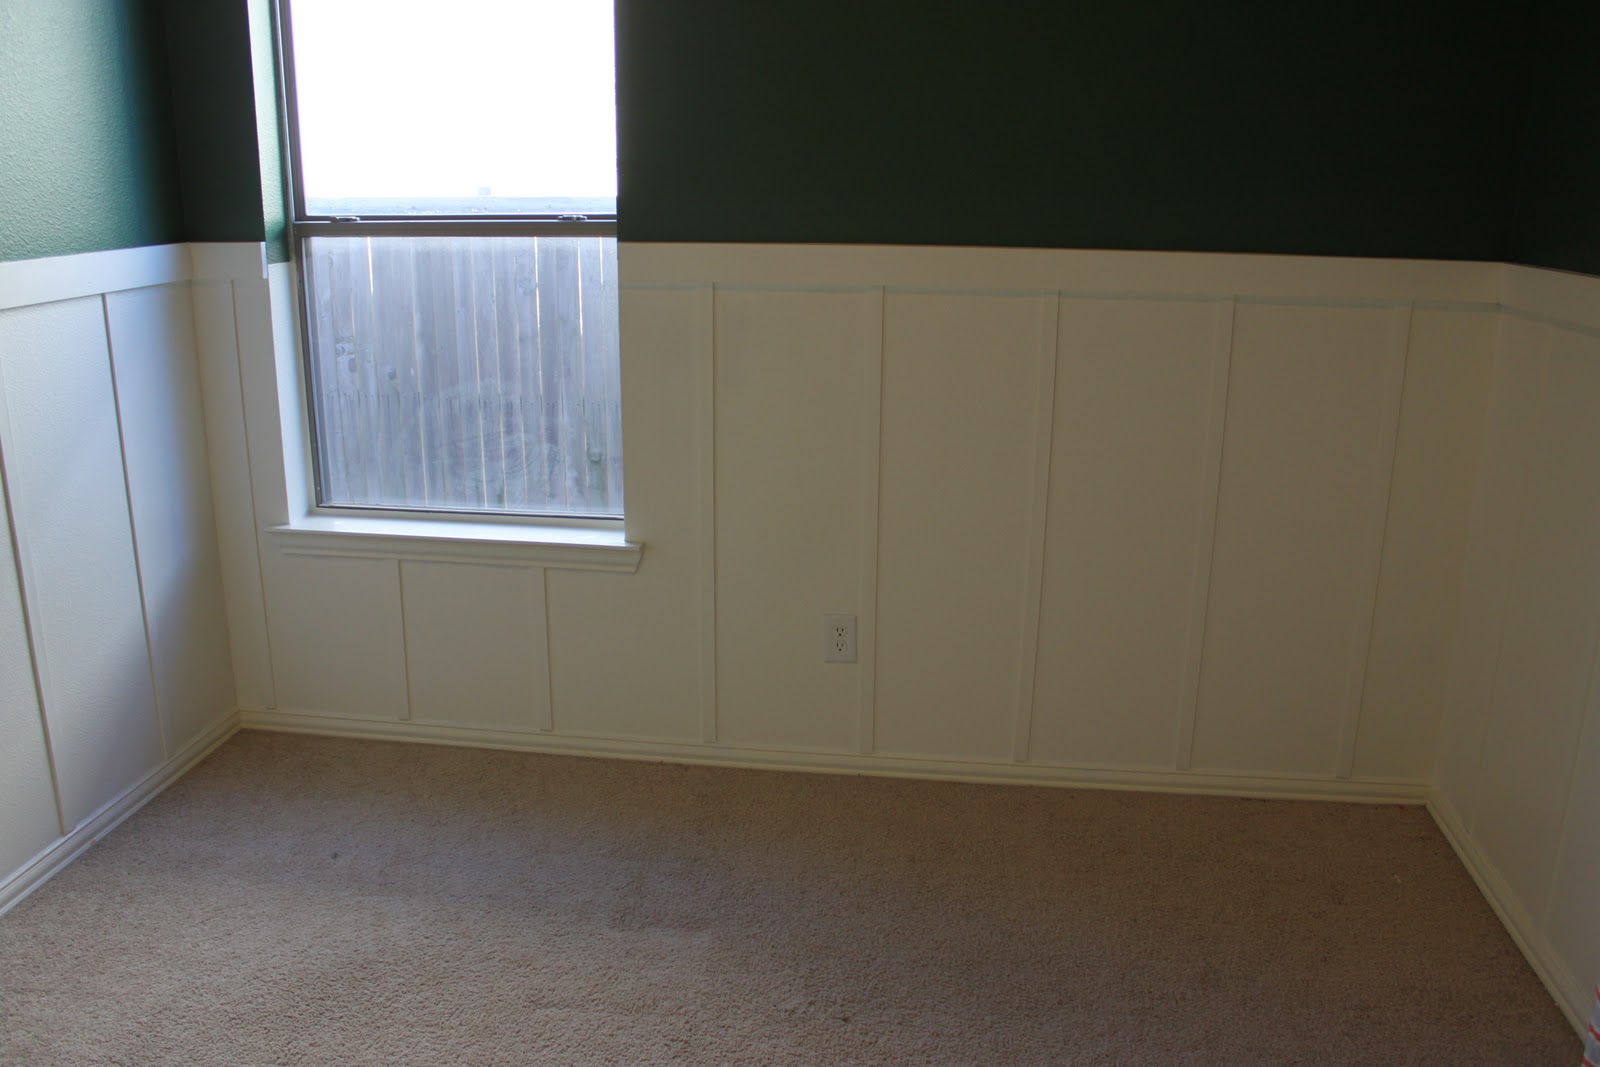
Before taking Mr. A's room from this:


to this:


I did A LOT of research.  I surfed tons of blogs, and found some AWESOMELY (is that a word?) helpful tips out there. 


I'm going to compile a few of the most helpful things I found for DIY Board & Batten.


Tip #1:  Paint EVERYTHING before you start putting up vertical slats, or your horizontal board.  EVERY blog I read recommended this, and it is sound advice.  Paint the bottom half of your wall a shade of white you like, and paint the top half too.


Tip #2: When painting a room, you are going to wind up using painter's tape to tape off the ceiling.  Put up the tape a small section at a time.  Paint that section of the wall, and within 10-15 minutes remove the tape.  I am so surprised how many people don't know this.  If you wait until the paint dries to remove your tape, you will pull of the new paint. (true story, has happened to me!)


Tip #3: When painting any room, it will probably take a few days to get it done.  You don't have to rinse your brushes and rollers every night!  Get out some Saran Wrap (plastic wrap) and tightly wrap all your brushes and rollers.  It will keep your rollers and brushes wet and moist for up to 4 days.  I read this tip online years ago, and have done this with every paint project in our house.  It might be THE BEST TIP I can give you!!


Tip #4: Paint all of your boards before you put them on the wall.  This means your vertical slats, and your horizontal boards.  This will save LOADS of painting time later!


Tip #5:  When painting all those vertical strips, put them all together, and paint them all at once!  Like this:


 Just use a roller, and you can paint a bunch all at once!  I had 31 lattice strips to paint, and this saved A LOT of time!


Tip #6:  For the vertical slats, I used "lattice strips".  They are super cheap, and super easy to cut!  I read about these over at Thrifty Decor Chick.  I would highly recommend using these as your vertical slats.


Tip #7:  Decide how far apart you want your vertical slats.  Cut a piece of wood that length and use that as your "measuring guide".  This way, you don't have to measure every time you put up a slat!


Tip #8:   For my horizontal boards, I used a 1x4 (it's technically a 3/4" x 4").  I was concerned about the weight of the boards on the wall, but so far they have been fine!  I thought a 1x4 was the right "look" that I wanted.  My advice for horizontal boards is to wander up and down the lumber aisles at your hardware store, and find the ones that "look" right.  There are really no rules here.


Tip #9: I used liquid nails for the horizontal boards, and then used a nail gun to secure the board to the stud.  A good stud finder is helpful!


Tip #10:  After you have everything painted, and glued/nailed to the wall, it's time to caulk!!  This step doesn't really take that long.  I caulked on both sides of every vertical slat, and along the top of the horizontal boards.  When caulking the horizontal boards, you will want to use painters tape to create a sharp edge.


Place your tape a little ABOVE where your board is:


 Caulk, and smooth with your finger.  IMMEDIATELY remove the painters tape.


You now have nice, clean lines!


Helpful Board & Batten Posts:

Delight in Decor (Amber was SUPER helpful to my emails and questions!)
     Boys Room

Monday, February 7, 2011

Board and Batten for a {Big Boy}

Pin It
My little man is growing up! Sniff.


Aren't his blue eyes Ah-mazing?!

Anyway, I digress.  It's time for a new room.  This little guy has outgrown this:


So, we took everything out of his room (which was a PAIN!) and were left with this:


Now, I loved his blue nursery, but I wanted to majorly change overhaul his room.

Board and Batten it is!  

I've been wanting to do this somewhere in my house for forevvvvver!


After a lot of work (priming, painting, cutting, nailing, caulking), a lot of borrowed power tools, and a milllllion trips to Lowe's, here it is:


I am INSANELY happy with how it has turned out!


It wraps allllll the way around the room:


View by the closet:


Close up:


Just another BEFORE and AFTER:


Stay tuned for a Tips & Tricks post all about Board and Batten!

and
 The DIY Show Off


The Girl Creative