Friday, October 18, 2013

DIY {Rolling} Wood Crates

Pin It
It's been a while since I posted!  I've been so busy with school starting back up, soccer, and preparing for all the upcoming holidays.


In the middle of all that craziness, I've been working on something really fun.  A full pantry re-do!


You'll have to wait until November 1st to see the full reveal-when I guest post over at GingerSnap Crafts.


For now, here is one of the many projects I tackled to get our horrid pantry in pristine condition.


As with my of DIY projects, this one started as a need to solve a problem-I needed a way to keep food off the floor (my pet peeve!)


The solution I finally came up with was wood crates that roll!  
I didn't want our wood floors to get scratched up by them, so wheels were a must.


I ordered some wood crates from Home Depot.  I know Michael's and Joann's carry them too sometimes.


At first, I thought I would stain all of them.


I loved this weathered gray stain.  But staining was a total pain! 

 I'm a FAST DIY kind of girl.  

So after one crate, and my feet looking like this:


I was DONE with staining.  I had no idea it was so messy, or time consuming.


Out came my trusty spray paint for the other two.


After spray painting and staining were done, it was time for the easy part.  Adding wheels!


I bought these wheels that roll AND swivel (fancy!) from Lowe's.


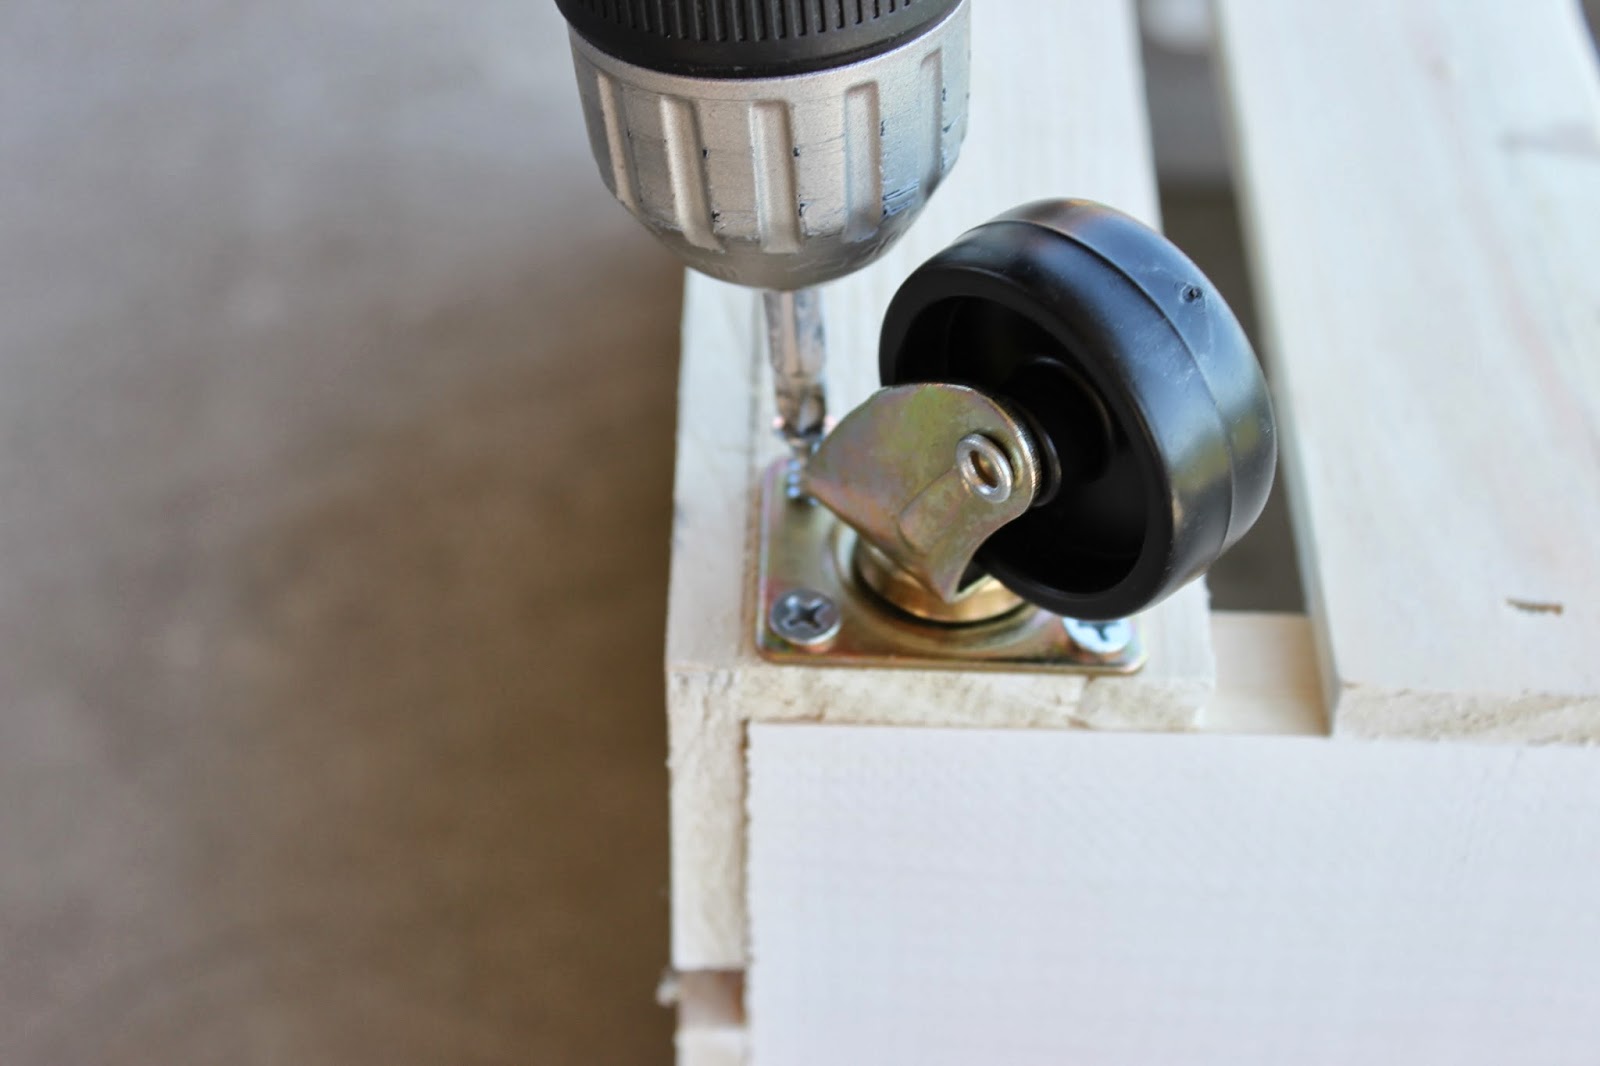
Each wheel took four screws.  Save yourself some time and use a drill!


The wheels are cute, and make it so much easier to pull the crates in and out of the pantry!


Add a little vinyl, and done!


Saturday, September 7, 2013

Fall Wreath Tutorial

Pin It
Fall is coming!  
At least, in our 100 degree heat, I keep telling myself that!


I made an easy fall wreath, and wanted to share.


Supplies
  • Wreath form (I use an 18" one)
  • Brown Yarn
  • Felt in fall colors
  • Scissors
  • Glue Gun
  • Corsage Pins (found at Hobby Lobby)


Directions

First, wrap that wreath.
I found this great, THICK, yarn at Wal-Mart of all places!


Just wrap around and around.  This step will take you a while!


Next up, make some felt flowers.


First, trace a circle on your felt.  
My circles were about 3-4" across.  You can do any size.


Cut out your circle.


Next, start cutting your circle into a spiral. 
 This does not need to be perfect, or precise.


Keep cutting.....


Once you have your spiral, start rolling!  
Start from the outside edge, like this.


Roll, not too tight, but not too loose.


Should be looking pretty cute by then end!


Roll it all the way until the end.  
The very inside part of the spiral is like the "foundation" you will glue your flower to.


Hot glue your flower to the the "tail".


Now, make a ton more of these flowers!


To attach them to the wreath, use a corsage pin.  


For the multi-colored ones, just roll 2 colors of felt together.


Told you it was pretty easy :)


Thursday, August 22, 2013

IKEA Bookcase HACK

Pin It
If you read regularly, you've seen some of the rooms in our new house.
(here, here and here)


Lately, I've been working on the upstairs living area. My *favorite* project, maybe ever, has been transforming our plain IKEA bookcases into something WAY more fun!


I started out with the plain old Besta bookcase from IKEA.

Now, I could have just styled the shelves and called it good, but I felt like it just needed something more!


I stumbled on this AMAZING company called O'verlays.  They are pros at helping you customize, and basically transform, anything IKEA!

They helped me design some custom Greek Key panels for my Besta units.  After I got them in the mail, it was DIY time!


I started out with plain white doors. 
(**bonus** the doors are only $5 at IKEA!  I love how cheap everything is there!)


I carefully taped the edges.  I only wanted the front of the doors gold.  The sides needed to stay white.


Then it was time to spray paint.  I knew I wanted to use my favorite gold spray paint for the background.  The O'verlays were going to stay crisp white.


I did a million small coats, being careful not to soak the doors in paint.


The result was a smooth, gold finish.  I was in love already!


To attach the O'verlays, I used a little bit of superglue.  The gel kind that doesn't run everywhere.


At this point, I couldn't believe how awesome they looked.  I was so excited to get them on the bookcases!

Here's a little "before" shot of the bookcases.  Looking a little sad....


Andddddd, after!


Love. Love. Love.


Close up:


Can you believe how a little spray paint and some O'verlays transformed these IKEA bookcases?  It's awesome.


Thanks for stopping by!

Tuesday, August 13, 2013

DIY Lucite Tray

Pin It
I love the look of Lucite trays! They are super classy, but run a little spendy for me.

I mean, it's just a plastic box.


So, I found some Pinterest inspiration, and crafted my own.

It turned out just like I hoped!


Supplies Needed

Clear Acrylic Frame
Scrapbook Paper
Painter's Tape
Spray Paint


How To

This honestly couldn't be easier!  SUCH a simple project.

Start out with a clear acrylic frame.  I got mine at Hobby Lobby (use a coupon!!).


Remove all the packaging and the backing.  You are left with a clear tray!

To dress it up a little, use a 12x12 piece of scrapbook paper.  I used a little tape to attach the paper to the bottom of the tray.


At this point, I was loving how it looked!


After a few days, I just felt like it was missing something.  Does anyone else obsess over stuff like this?  Oh, it's just me!

It just seemed too.....plain.


I decided to add some brassy accents.  Not too much.  That meant painters tape and spray paint!

Start by taping off your corners.  Decide how much paint you want on each edge.  I went for a rectangular look, you could do a square.


Flip over your tray and tape off the bottom.  You only want to spray paint your corners.


Next, pull out your favorite spray paint.  Mine is for sure this lovely brass color by Valspar.  I have used it on quite a few projects lately.


Give it 2 or 3 coats, with plenty of dry time in between.  Gently peel off your tape.


I started doing a happy dance here.  Lovely!!

Put your scrapbook paper back in the bottom, and you now have a *very* classy Lucite tray!


Love the dreamy corners!


Fits right in with our new upstairs living room!