**UPDATE**
1/25/2012 The link to the .svg file is now working!!If you missed my last post, I gave you readers a little peak at my mixer makeover!
It went from this:
To this:
Ready for the full How-To?
Supplies Needed:
Vinyl (12x12 sheet is pleeeenty)
Cricut Machine
Sure Cuts A Lot (SCAL) software
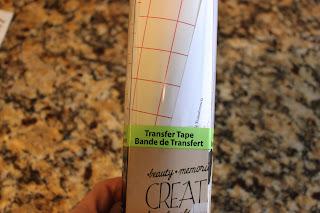
Transfer paper
FREE subway art file (can download below!)
Step 1:
Wipe down that mixer! Get any grime off.
Step 2:
Download FREE subway art file
jpeg file here
.svg file HERE
Step 3:
Open your SCAL (sure cuts a lot) program, and size your image to fit your mixer. I chose to do an 8.5 in x 8.5 in square. This should fit most kitchen aid mixers.
Step 4:
Cut out your vinyl using your SCAL & Cricut
Step 5:
Time to "weed" your vinyl. This simply means that you remove all the excess vinyl, leaving ONLY the letters. Like so:
Step 6:
Now you need to "weed" out the vinyl inside your letters. For example, the p's, o's, a's, e's, etc. Like this:
Should look like this when you are done:
Step 7:
One you have thoroughly weeded your vinyl, it's time to put transfer tape on top of it.
Cut a square of transfer tape the same size as your vinyl sheet. (approx 8.5x8.5 if you use my measurements)
Place your transfer tape on your vinyl like this:
Step 8:
Using a craft stick (or ruler) rub across your letters. The goal is for your letters to stick to the transfer tape.
Step 9:
Carefully peel your transfer tape away from the backing, like this:
Step 10:
Line up your paper on your mixer, and then starting at the bottom, press onto your mixer. Make sure it's EVEN! You can't really undo this step if you mess up :)
Step 11:
Again rub those letters! this time you want them to stick to the mixer!
Step 12:
Carefully peel off your transfer tape. All letters should now be on your new FAB mixer!
Here's my mixer BEFORE:
Here it is AFTER:


