For little man's 5th birthday, he got a few Lego sets. He was in love.
We then inherited a rather....large collection of Legos from a neighbor.
It took about 1 day of me stepping on teeny tiny pieces to decide I had to do something to organize it all!
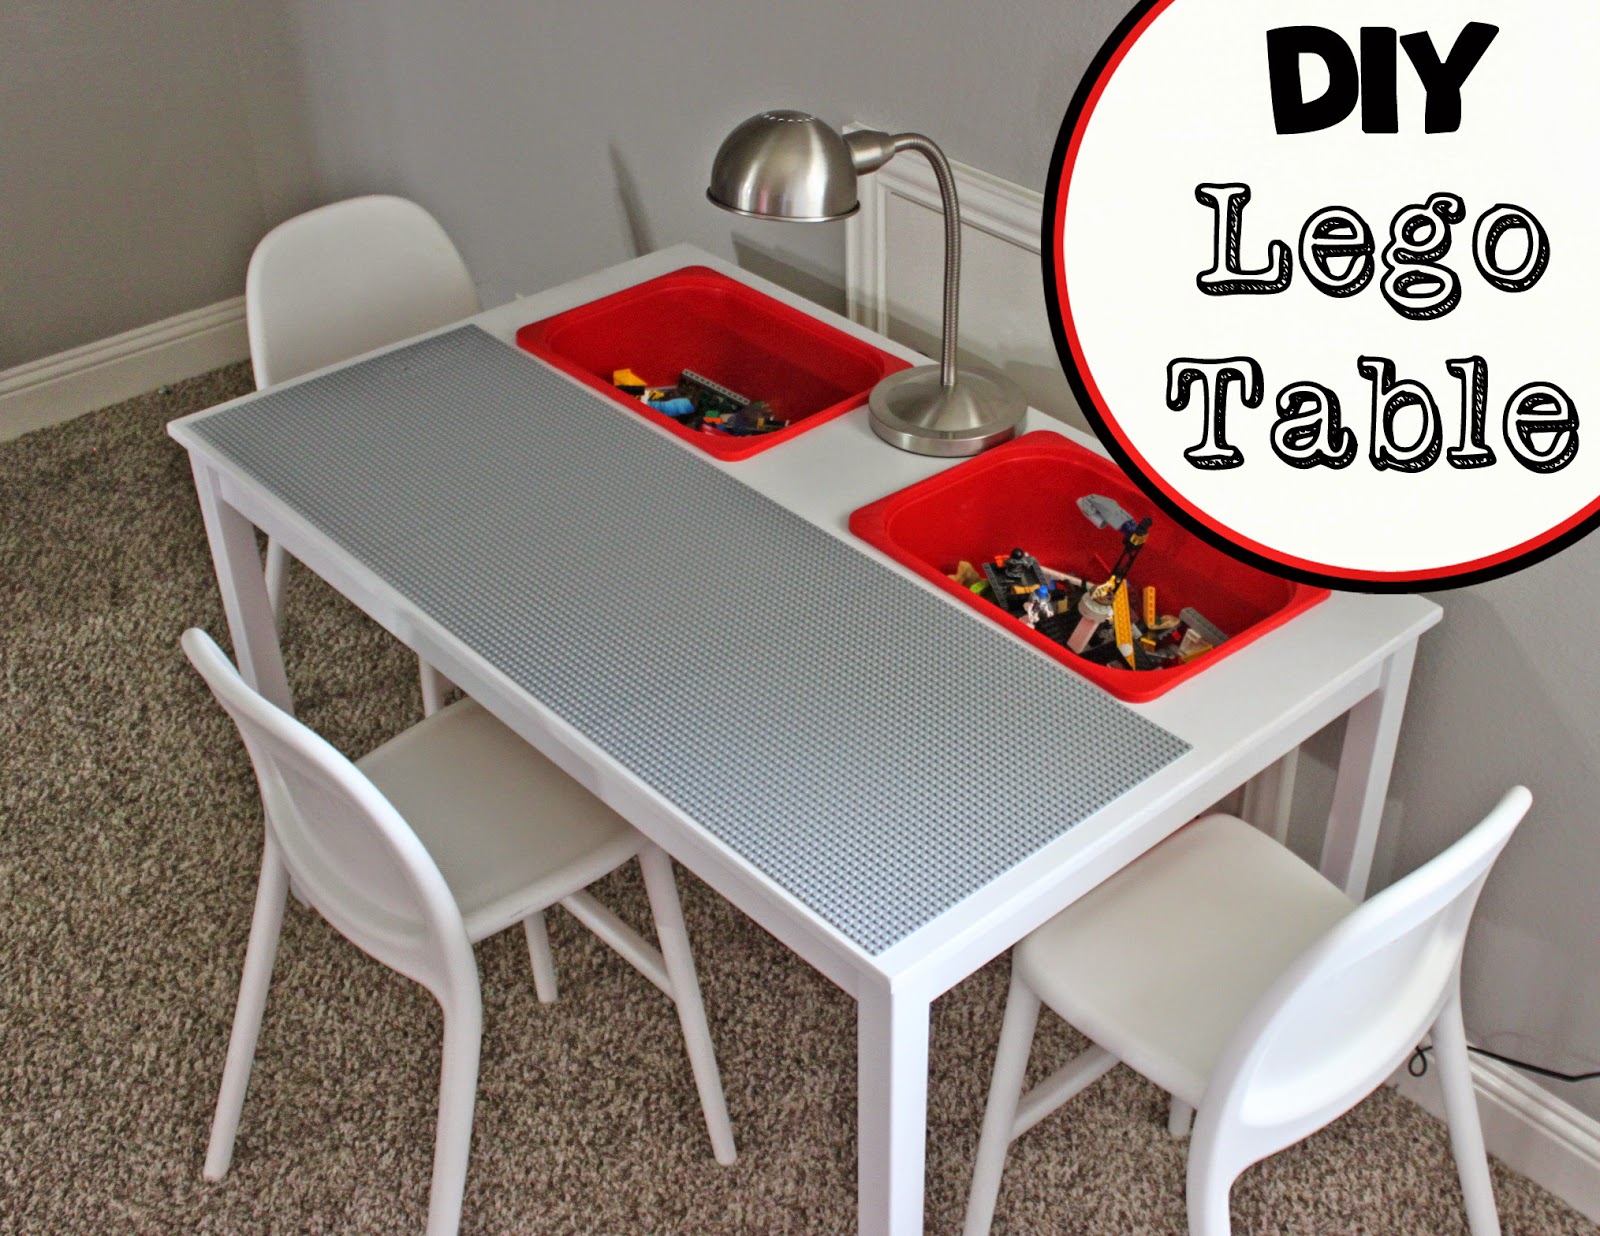
Thus, the DIY Lego Table!
This table was super easy to make.
Really, if I can build this, so can you!
Supplies Needed
- IKEA Ingo Dining Table
- IKEA Trofast buckets (I got the medium sized ones)
- Jigsaw
- Drill with spade bit
- Sandpaper
- Spray Paint
- Clear Sealant
How To
First step-assemble that table!
Next, decide how many buckets you want. I decided on two, going horizontal.
(I felt like going vertical took up too much table space)
I carefully measured out where on the table I wanted my buckets. I used a straight-edged level to make sure my rectangles were perfect.
If you are doing this exact project, here are your measurements:
- Each rectangle is 15.75" across, and 10.25 inch tall
- I measured in 4" from the side of the table
- I measured 2.25" from the top of the table.
Here's an awesome diagram for you visual learners.
Next up, cut out those rectangles.
Use your spade drill bit (you can buy one at any hardware store) to make a hole, up near one of the corners. This is how you will start your cut with the jigsaw.
Next, use your jigsaw to cut out the rectangles, following the lines you previously drew. It's ok if they are not exact!
Here are my rectangles, pre-sanding, and painting.
Sand the edges when you are done.
Now, spray paint (if you want). I wasn't a huge fan of the pine look.
I finished it off with a clear (non-yellowing) sealant.
Drop in the bins, and fill with Legos!
(those bins hold A TON of Legos)
(those bins hold A TON of Legos)
Here it is, getting some use.
To actually build stuff on, I ordered gray 15x15 baseplates from Amazon to glue to the table. I needed three to fill the width of the table.
I used superglue to attach them.
Here they are, attached to the table.
All done!
Many creations have already been made....
Thanks for stopping by!


