Sunday, October 5, 2014

Mermaid Birthday Party!

Pin It
Little Miss Emma turned 3 in July!

(can you believe I'm just now blogging about it?!)


Her current obsession is all things mermaid.  A mermaid party it was!


We started out with a few simple games.  This is for a 3 year old crowd, after all!


This one was "Feed the shark!"


It was a ball toss game.  They just had to throw the ball in the shark's mouth!


The second was "Pin the tail on the mermaid"
(which I forgot to take a picture of!)


After that, it was time for food and cake!


Emma wanted a "fancy cake".  This was all I was up for making this year, having a brand new baby!


Ombre rosettes, and a glittery number 3,


Here she is, blowing out the candles on big number 3!


The rest of the food followed our under the sea theme.


Ocean "Jelly" was a huge hit.  Kids love jello.  It's a fact!


Rice crispies are a fave of Miss E, so we had to have those.


Layered "mermaid" cakes were fun too.  Just layered cupcake pops.


We had chocolate AND vanilla.  Trying to please everyone!


Love how these "clam" cookies turned out.  So cute!


We also had dipped pretzels (another Miss E request).


For party favors, I made all the girl's sparkly mermaid tails and starfish wands!


The starfish wands are simple to made.  Find large starfish at your craft store, and hot glue on some ribbon and a dowel rod!  Easy.


Almost forgot about the cookies.  What party is complete without AMAZING sugars cookies?


Aren't these beautiful?  So cute.


In all, an awesome birthday for our spunky and fun Miss Emma.


Monday, August 4, 2014

{Frozen} Necklace Tutorial

Pin It
Do you have a little one OBSESSED with the movie Frozen?


Oh good, I'm not alone!

For an upcoming Frozen Birthday bash, we needed some fun party favors. 

Here's a full tutorial on how to make them!


First up, gather your supplies!


Everything was purchased at my local Hobby Lobby and Michael's.  
The images for the bottle caps were purchased here.


First up, punch a hole in your bottle caps.


This tool made it very easy!


Add your jump ring. 
(they have a little slit in them where you can pull it apart)


Now, use your 1 inch paper punch to cut out your images.


Carefully peel off your Epoxy Stickers, and place on top of your cut out images.


Now, glue them to your bottle caps.


A small dab of glue will do.


Here's a shot of mine all glued on.


The picture of Olaf on the beach is one of my favorites!


Cut your ball chain (with regular old scissors), to the length you want.  
I did 24" chains.


Add your chain to your bottle cap, and you are DONE!


Thursday, July 17, 2014

Pink + Gold + Navy Nursery

Pin It
This little lady joined our family in May.  We are so happy to finally have her here!


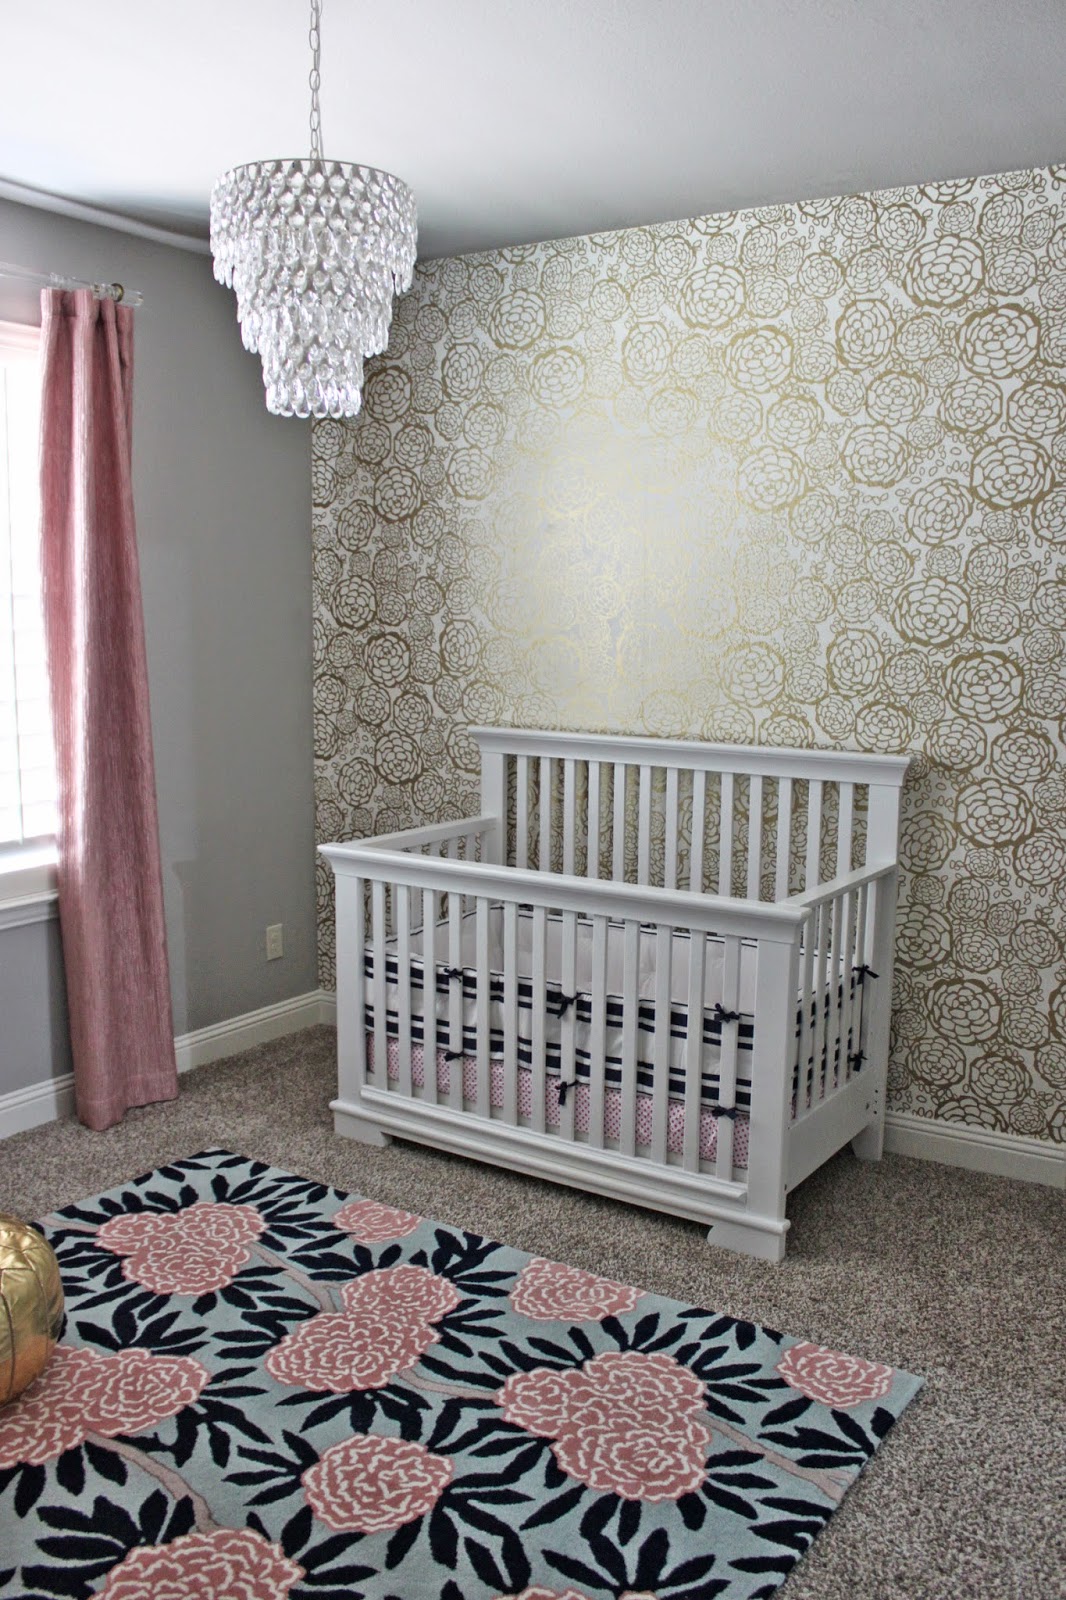
Her nursery was so fun to put together.  I knew I wanted it to be pretty girly, and a little glam.  Here's how it turned out!


Love this rocking chair SO much.  Definitely the most comfortable rocker I've ever had!


The wallpaper wall behind the crib was QUITE the project.  I could have never done it without my mom!  She has serious wallpaper skills left over from the 80's!


Such a fun accent wall.


Close up of the gold.  It's pretty shimmery!


I went with navy, pink, and gold for the whole room.  really like how it came together!


The changing table/dresser is actually a dining room buffet.  Probably my favorite piece in the whole room.


The drapes were an adventure for sure!  I knew I wanted an acrylic rod, but finding the right hardware to hang it up was seriously really hard.


I do love the acrylic though!


To fill in the empty corner, I made a few tissue pons.  Love the gold paper I found.


And last, that awesome light fixture.  Love it!  Very girly, and very glam.


Thanks for stopping by!


Wednesday, June 18, 2014

DIY {Lego} Table

Pin It
For little man's 5th birthday, he got a few Lego sets.  He was in love.  


We then inherited a rather....large collection of Legos from a neighbor.  

It took about 1 day of me stepping on teeny tiny pieces to decide I had to do something to organize it all!


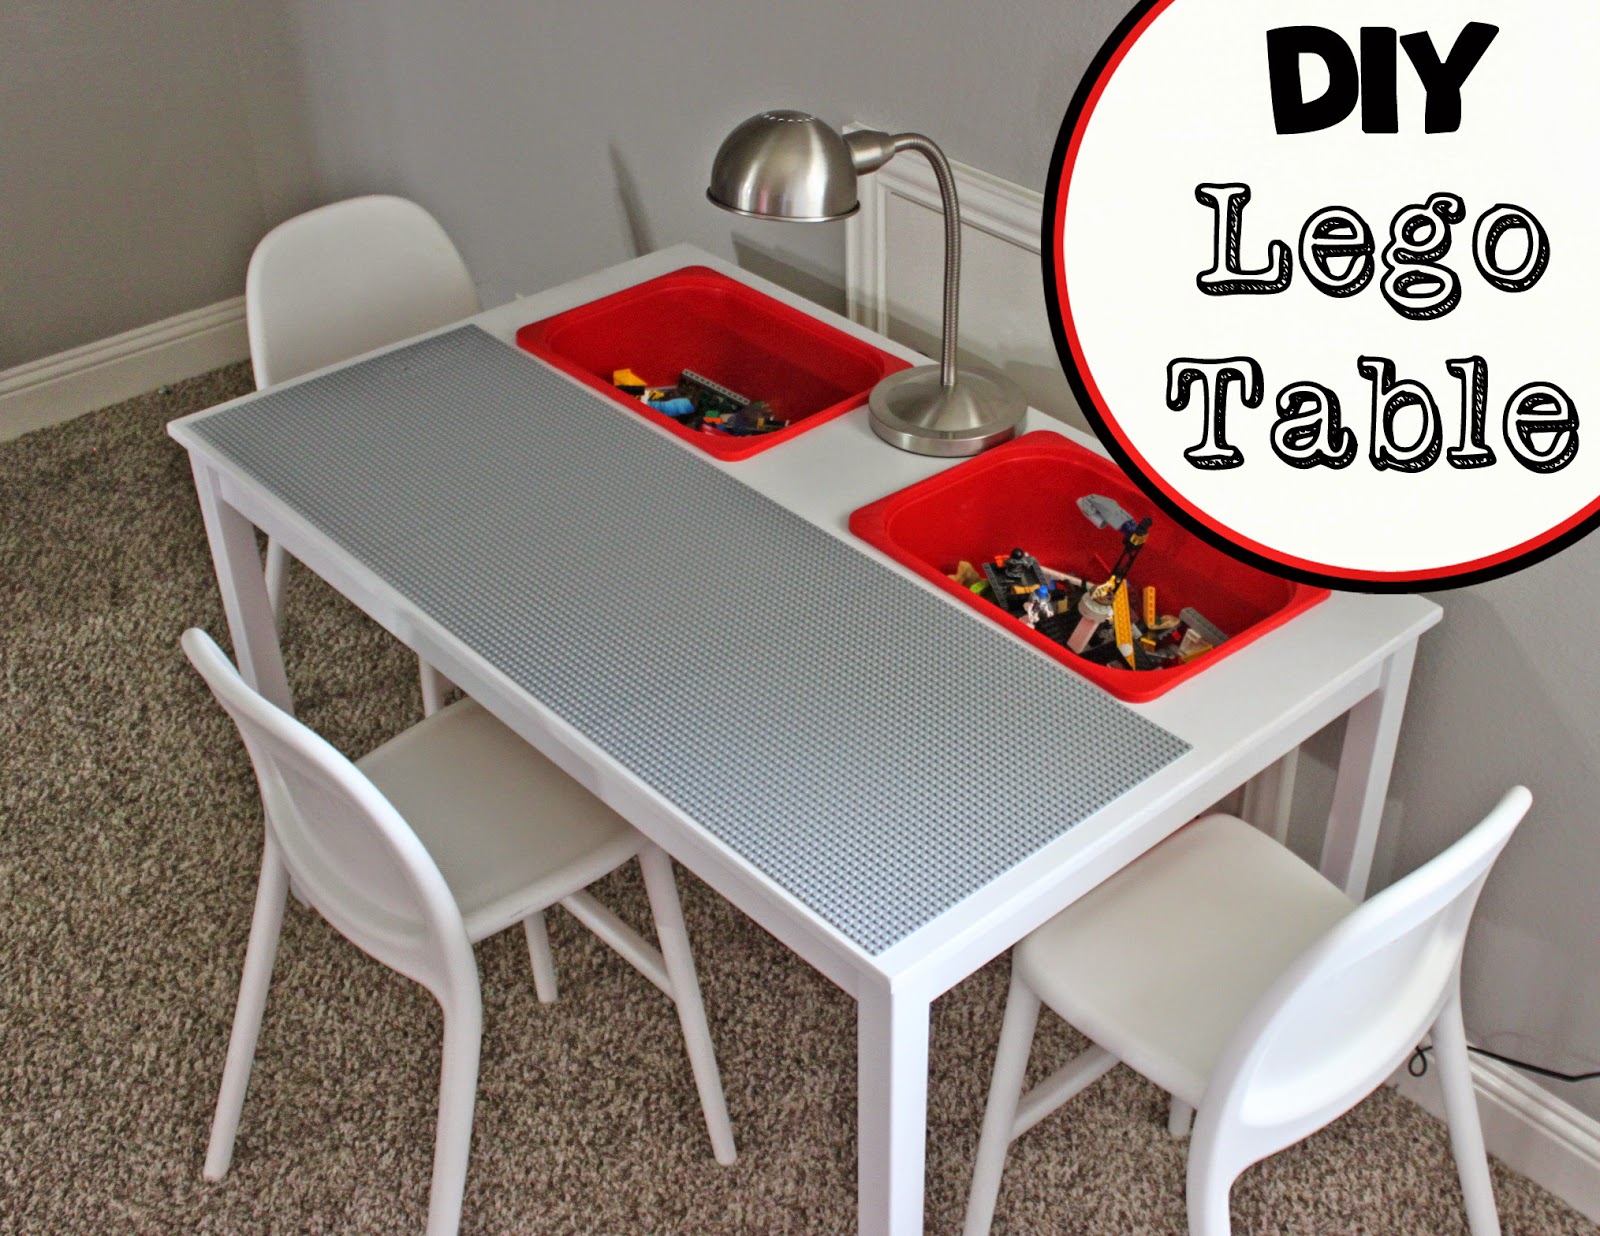
Thus, the DIY Lego Table!


This table was super easy to make.  
Really, if I can build this, so can you!


Supplies Needed


How To

First step-assemble that table!


Next, decide how many buckets you want.  I decided on two, going horizontal.  

(I felt like going vertical took up too much table space)


I carefully measured out where on the table I wanted my buckets.  I used a straight-edged level to make sure my rectangles were perfect.


If you are doing this exact project, here are your measurements:


  • Each rectangle is 15.75" across, and 10.25 inch tall
  • I measured in 4" from the side of the table
  • I measured 2.25" from the top of the table. 


Here's an awesome diagram for you visual learners.


Next up, cut out those rectangles.


Use your spade drill bit (you can buy one at any hardware store) to make a hole, up near one of the corners.  This is how you will start your cut with the jigsaw.


Next, use your jigsaw to cut out the rectangles, following the lines you previously drew.  It's ok if they are not exact!


Here are my rectangles, pre-sanding, and painting.


Sand the edges when you are done.


Now, spray paint (if you want).  I wasn't a huge fan of the pine look.


I finished it off with a clear (non-yellowing) sealant.


Drop in the bins,  and fill with Legos!
(those bins hold A TON of Legos)


Here it is, getting some use.


To actually build stuff on, I ordered gray 15x15 baseplates from Amazon to glue to the table.  I needed three to fill the width of the table.


I used superglue to attach them.


Here they are, attached to the table.


All done!


Many creations have already been made....


Thanks for stopping by!