Monday, January 27, 2014

No Rise (Quick & EASY) Cinnamon Rolls

Pin It


I don't know about you, but sometimes I just forget to get breakfast started the night before!  My kiddos seem to always want things that take overnight to rise.


For the mornings you forget, or just run short on time, these cinnamon rolls are DELISH.  You would never know they were a "short cut" recipe!


Ingredients

Dough
2 cups flour
2 tablespoons sugar
4 teaspoons baking powder
1 teaspoon salt
3 tablespoons butter
3/4 cup milk


Filling
4 tablespoons butter
1 cup brown sugar
3 teaspoons cinnamon


Glaze
1/2 cup powdered sugar
2-4 Tbs milk (depending on how thick you like your glaze)

1 tsp. vanilla 


Directions


Preheat oven to 400F.

For the filling, in a small bowl combine softened butter, brown sugar and cinnamon to form a crumbly mixture.

Sprinkle 1/2 of the mixture over the bottom of a 9x9 pan.


In a large bowl mix together flour, sugar, baking powder, and salt.

Cut in softened butter and mix until well combined.

Stir in milk to form a soft dough.


Roll out dough on a lightly floured surface into a rectangle about 1/4 inch thick.
Spread the remaining filling on the rolled out dough.

Roll up the rectangle and with a sharp knife slice into 12 rolls.


Place them in the pan.
Bake for 20-25 minutes.

For glaze, combine powdered sugar, milk and vanilla in a small bowl and whisk until smooth.

Once rolls are finished, drizzle on glaze and serve warm.


ENJOY!


Recipe adapted from Food.com


Tuesday, January 21, 2014

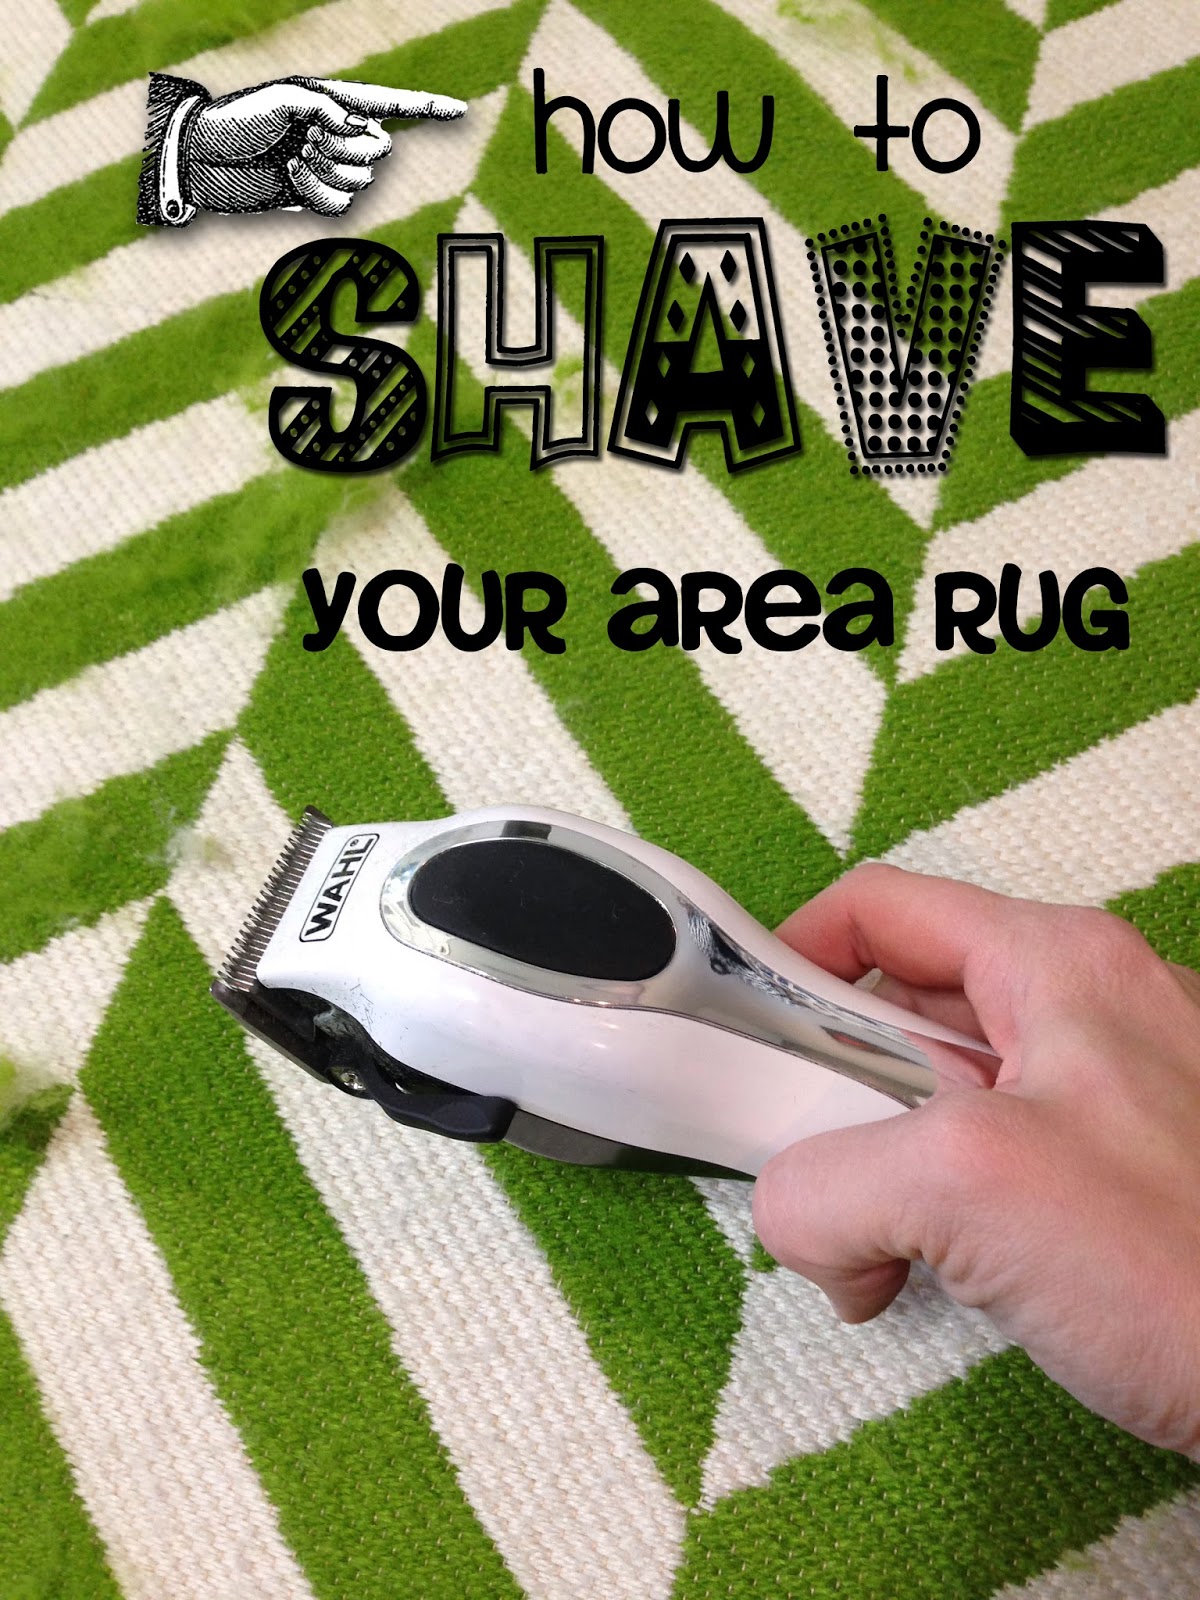
How to {shave} your Area Rug

Pin It
Hey there!  I have the BEST tip to pass on to you today!


I showed you here and here some of the things I had been working on in our upstairs living room.

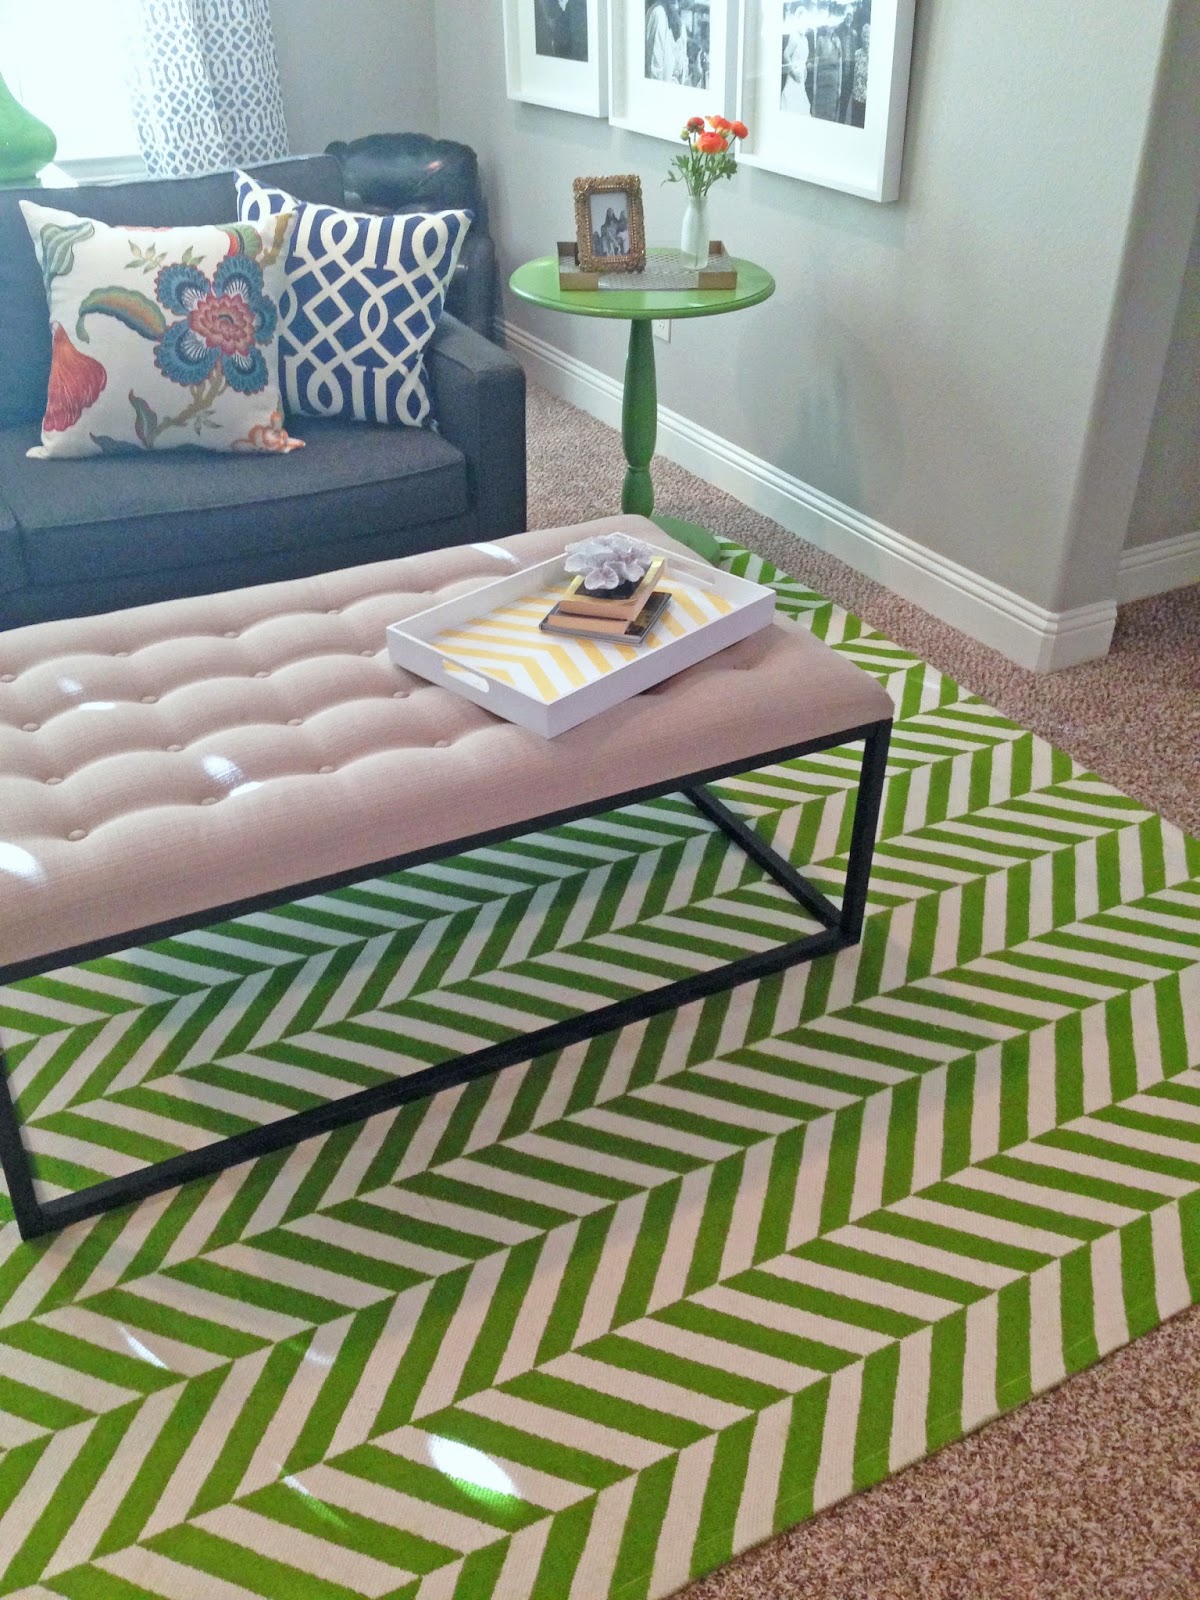
See that gorgeous green rug?  I seriously LOVE. IT.  Great color, great texture, and durable enough to stand up to my rowdy bunch!


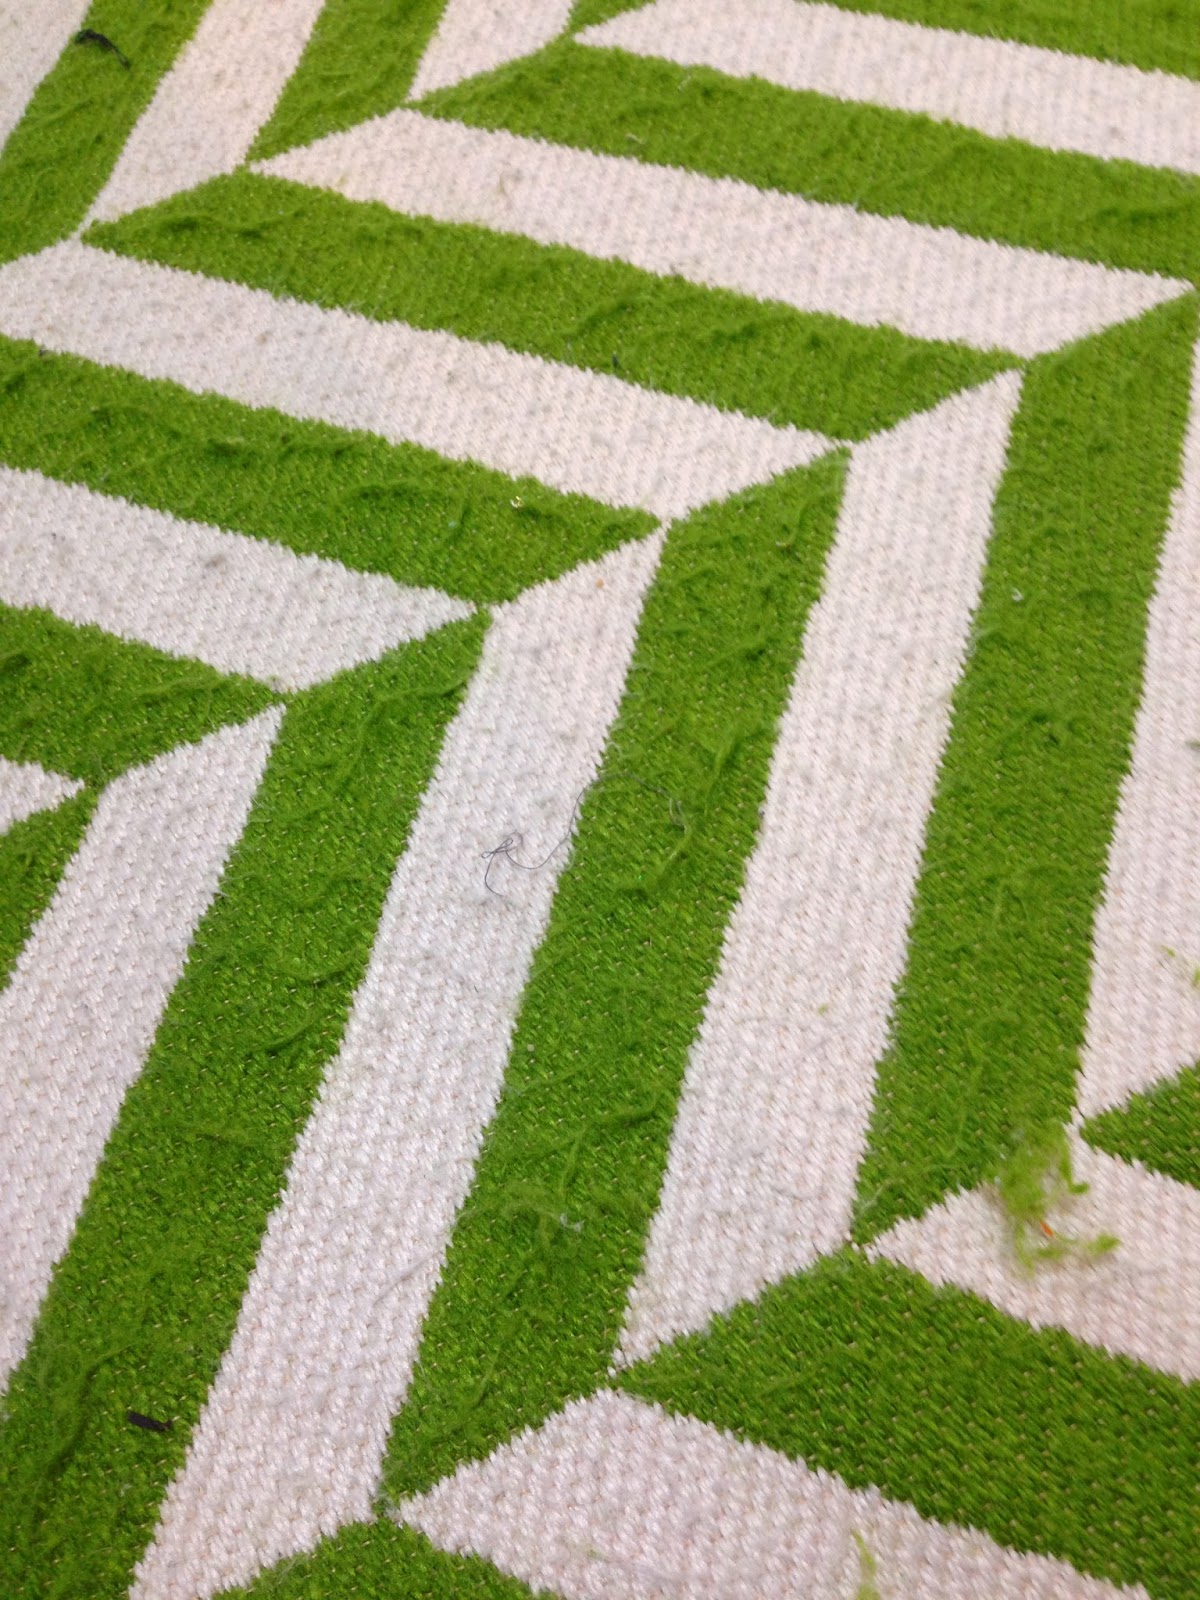
After having the rug about 6 months, it was starting to fuzz up.  Most people would probably never even notice, but it was driving me super crazy.  It just looked ratty.


So, I ordered a fabric shaver-it didn't help.  It would "kind of" pick up some of the fuzz.  


I realized I needed something to actually SHAVE off the fuzzy stuff.

Enter my hubby's hair clippers.


I didn't use any of the attachments, just the straight up blade.  

These are cheap-o hair clippers from Wal-Mart.  Nothing fancy.


I gently skimmed the top of my rug.  Don't push down!  Just skim it across.


NOTE: This is an indoor/outdoor rug with a flat weave.  I wouldn't recommend this for a rug with a super plush pile.


That said, here's a little before and after!!


BEFORE


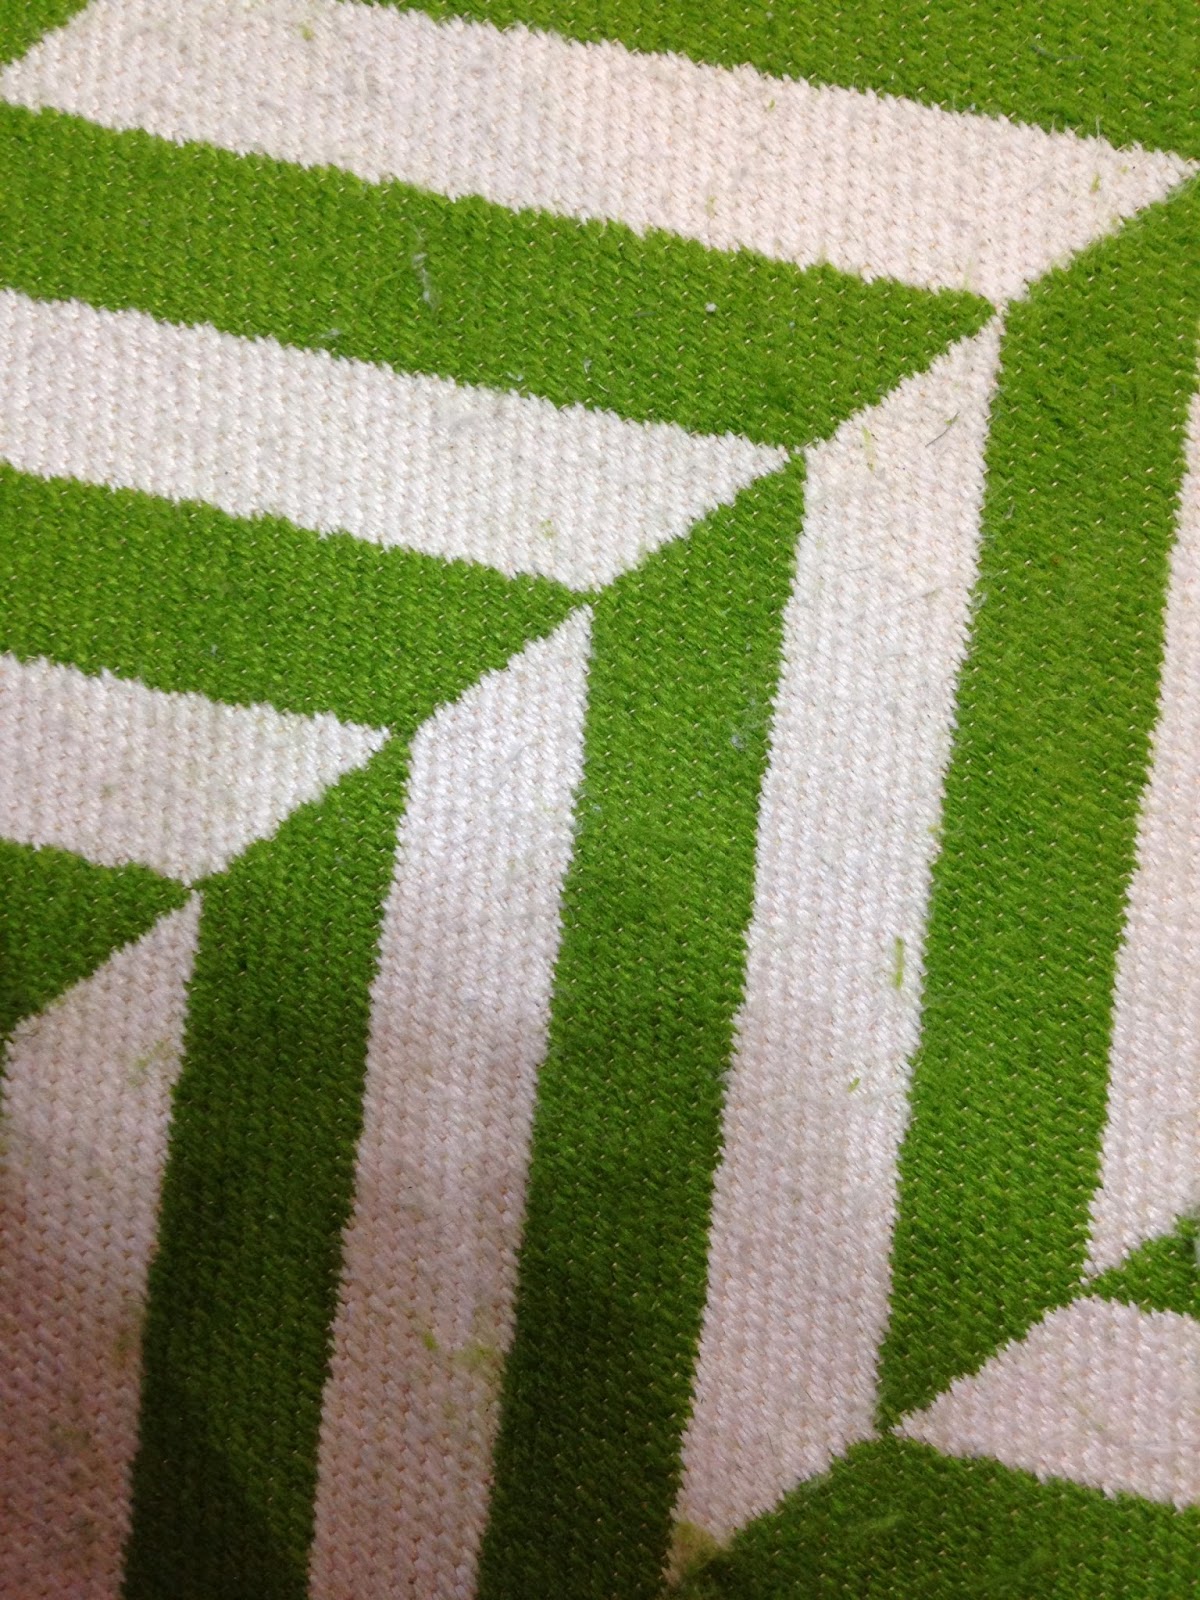
AFTER


Can you believe how different it looks?


It seriously looks BRAND NEW again.  So pleased!


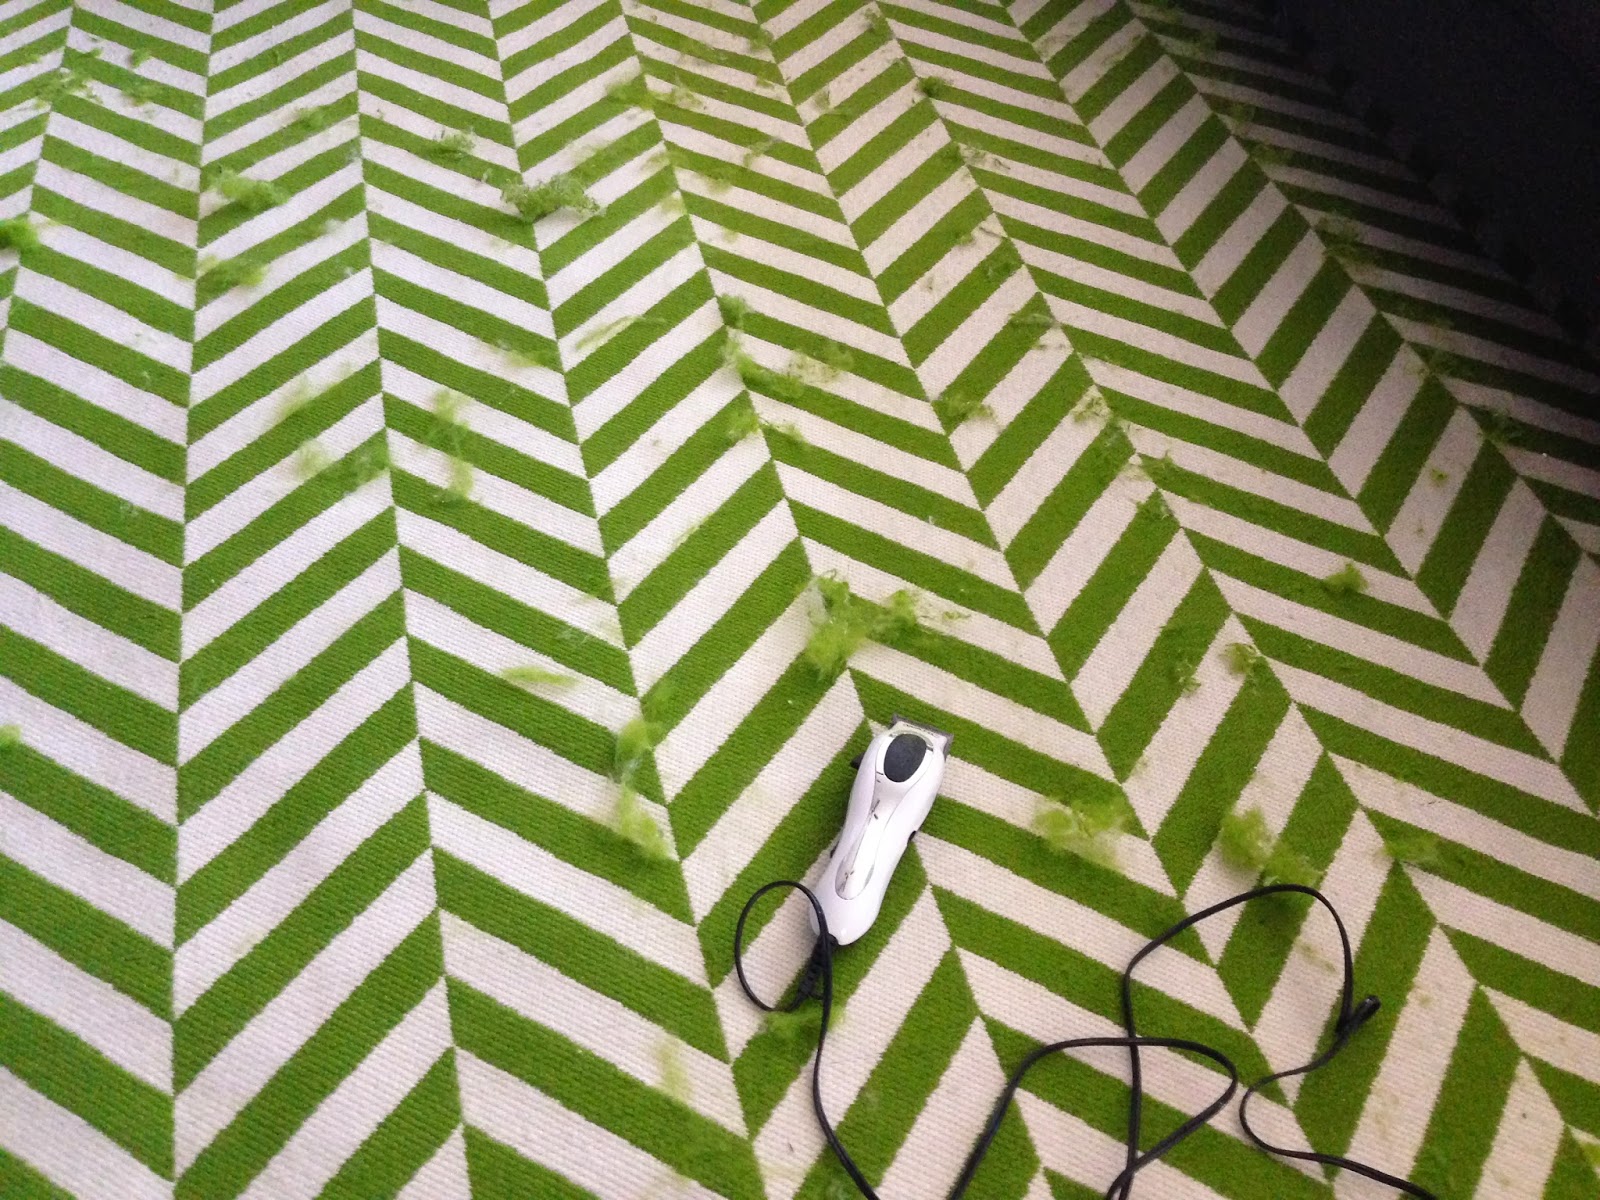
This is what it looked like in progress.  Fuzz EVERYWHERE.


More in progress:


And done!


Looking good again.  Whew.


Hope this tip helps someone rescue their rug!


Linking up here


Friday, January 10, 2014

Master Bedroom {Tour}

Pin It
Our Master Bedroom is a place I never got around to decorating at our old house.  
It was a priority in our new place!

I've had this room finished for at least 6 months, but am just now getting around to sharing it with you...


That said, here's our retreat!


I went with unconventional nightstands.  They are actually quite large chests, but work great as nightstands.  One of my favorite elements in the room!


Also seriously loving all the pillows.  I like pretty pillows WAY too much.


The reading nook-for when I have a second to sit still!


 This chair is quite cozy-and the nailhead accents are just lovely.


This little brass table is a fun touch too.


Across from the bed, is our dresser and gallery wall.


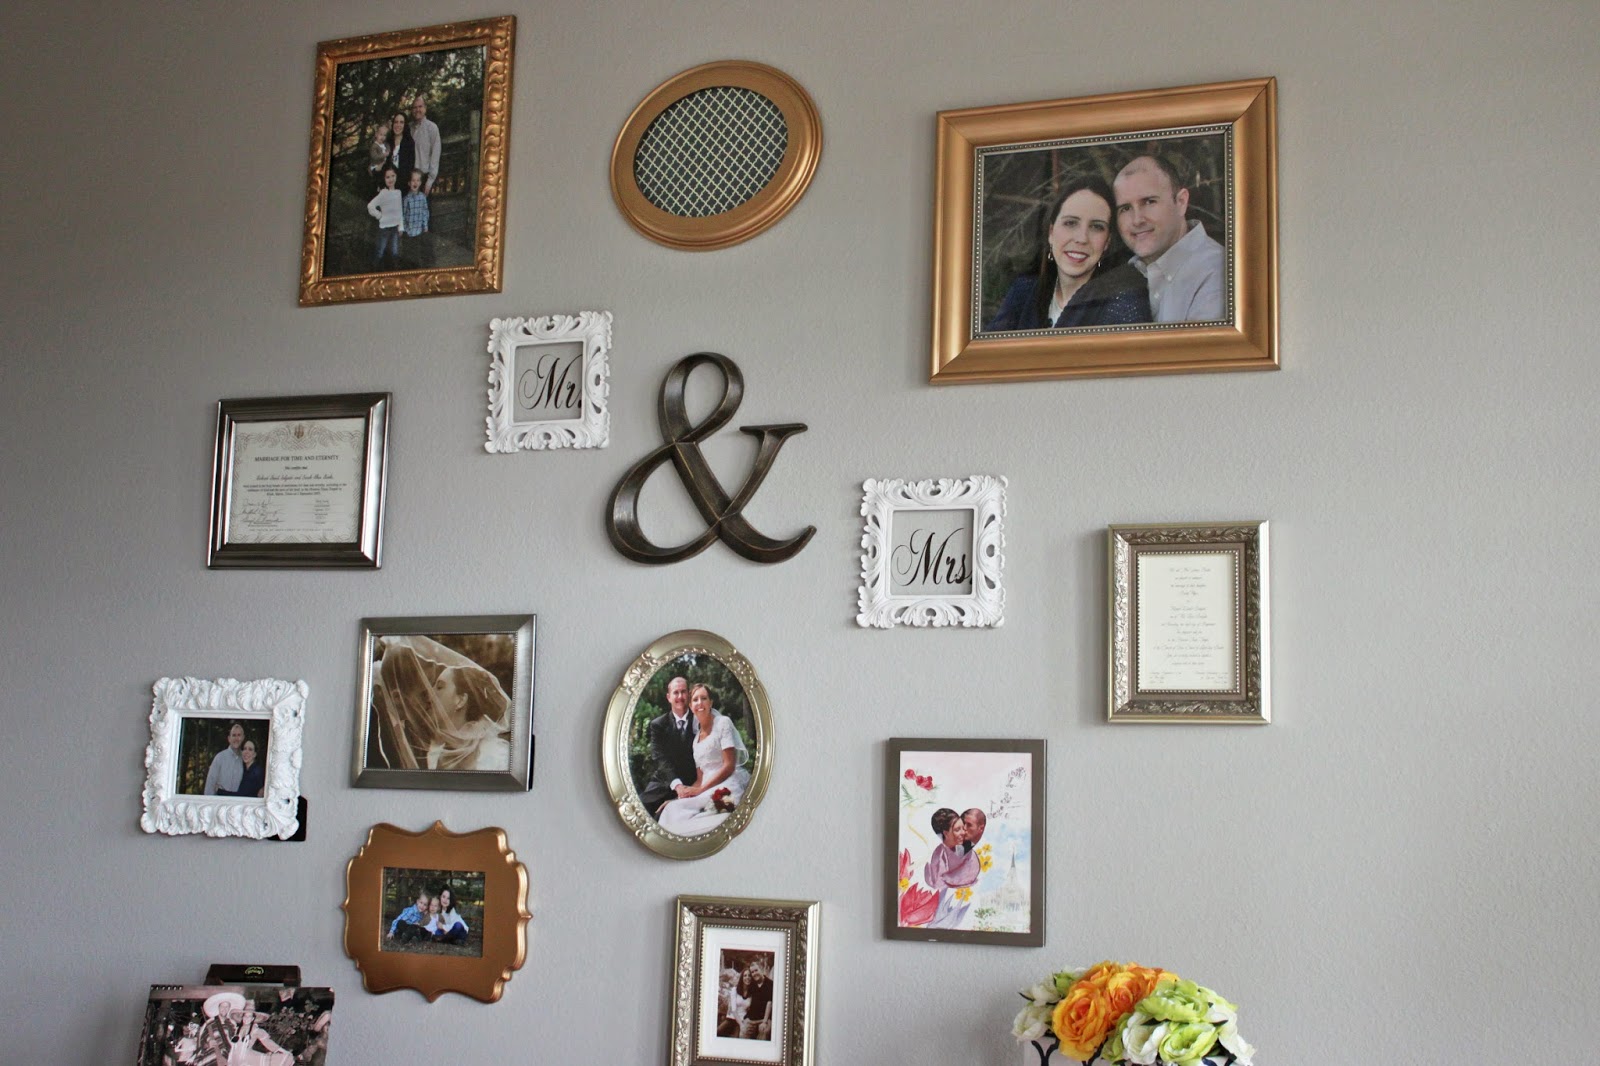
I had a ton of fun DIY-ing this area!  I just gathered frames I already had, and made it work!  A little spray paint was involved for a few frames.


Love the Mr. & Mrs.


The ottomans on either side of the dresser were a Target clearance find.  Love it when that happens!


It's the perfect spot to sit if you are 2…


I made the drapes myself, and I love the bold navy stripe!


I think that's about it!  Thanks for stopping by!


Many thanks to Casey Grace Design for helping me conceptualize and plan this space!


Friday, December 13, 2013

{Quick & Easy} Wooden Nativity

Pin It
Well, it's been another month since I blogged!  I've been working on so many projects, I haven't had time to share them all.

I had to make time to post about this one, though!


A good friend on Facebook originally posted this idea, and I knew I had to figure out how to do it myself!


Supplies Needed

2 in X 2 in X 8 ft Furring Strips (as seen here)
Nativity Scene Stickers (purchased here)
Sandpaper
Mod Podge
Sponge Brush


If the supply list sounds simple, that's because it is!


Directions

(you will need 10-12 pieces per nativity, depending on how many stickers you want to use)


Start with your furring strips.


Cut them into 2.5" lengths.  I got about 30 pieces per 8 foot board.  If you don't have a miter saw at home, have the guys at Home Depot/Lowe's cut it for you.  If you go during an off peak time, they won't charge you.


After you have all your pieces cut, they will be a splintery mess.


Time to sand them down.  I have an awesome 3M sander that I use. 
(3M does not pay me to say that!) 

It totally saves my hands when sanding a bunch.


After sanding, a lot, your blocks should be nice and smooth, like this.


See how there are splits on some pieces?  I just made sure that was the back side in the next step.


Now for the fun part!  

Stickers and Mod Podge.


Get out your stickers, and decide which ones you will use.


Take a sticker, and put it on the wood.


Easy.


Use some mod podge, and give your block a good coat, right on top of the sticker.  

I only mod podged the side of the block the sticker was on.


That's it.  For real.


Goes faster with a cute helper!


Here's what your table will look like after making 10 sets.  Each with 10 pieces.....


Now you have an easy, cheap, and SUPER cute gift to give to family and friends.


Close up of some pieces:


Happy Crafting!


Friday, November 8, 2013

Pantry Makeover!

Pin It

We recently moved into a new house, and I have had so much fun decorating, painting, and all that a new house involves.

One thing has been lurking-and driving me nuts.  

Our scary pantry. 

This is the scary before picture.  
Brace yourself!


I could never find anything.  Ever!


Here are a few {easy} things I did to spruce it up!


First, take everything out.  You've got to start with a blank slate!


To add some interest to my plain old walls, I decided to wallpaper!  I found some *awesome* wallpaper. (source at end of post)  

It's "peel and stick" and "repositionable".  It is COOL stuff!


It really was just like a giant sticker.  
Cut it to size, and stick it on!


It was SO easy to install.  


It only took about 30 minutes to get these prettied-up walls.


I was loving the look of it.  


Next up, gather bins, buckets, baskets, crates, and pretty glass jars to organize all your food.  


My favorite places to get items like this are IKEA, Target, Wal-Mart, and shopping my own house!


Here is my after picture.  
Since I know that's the one you really want to see!


The left side view:


And, the right side.


Here are a few shelves, with details I love.


Baking Stuff


These frosted glass jars are so fun!  The lids have a great seal on them too.  It's kept my baking stuff fresh.


These "linen" bins are one my favorite things in this pantry.  They are perfect for all those random baking supplies!


Legumes, Pasta, Grains

These metal baskets are perfect for holding bags of quinoa, cous cous, rice and pasta. 

I heart them.


Love having all my legumes in glass containers.  Much more fun than bags of beans falling off the shelf!


Cooking Oils

 This bin was a little trickier to find.  I have a lot of bulky bottles, and way too many kinds of oil. Plus, my shelves are a little narrow.

This bin is actually for drying dishes, but sure works to store oils in too!


I might be slightly obsessed with those gray bins with the leather handles.  

So. Lovely.


Breakfast Food & Snacks


These cereal dispensers, which I wisely put at a level my kiddos can reach, make my day SO much easier.  My kiddos can help themselves to whichever kind they want.  They can take care of the seconds too!


For sure the favorite after school spot for my kiddos!  These labels are just paper, so I can switch them up easily if I need to.


Spices


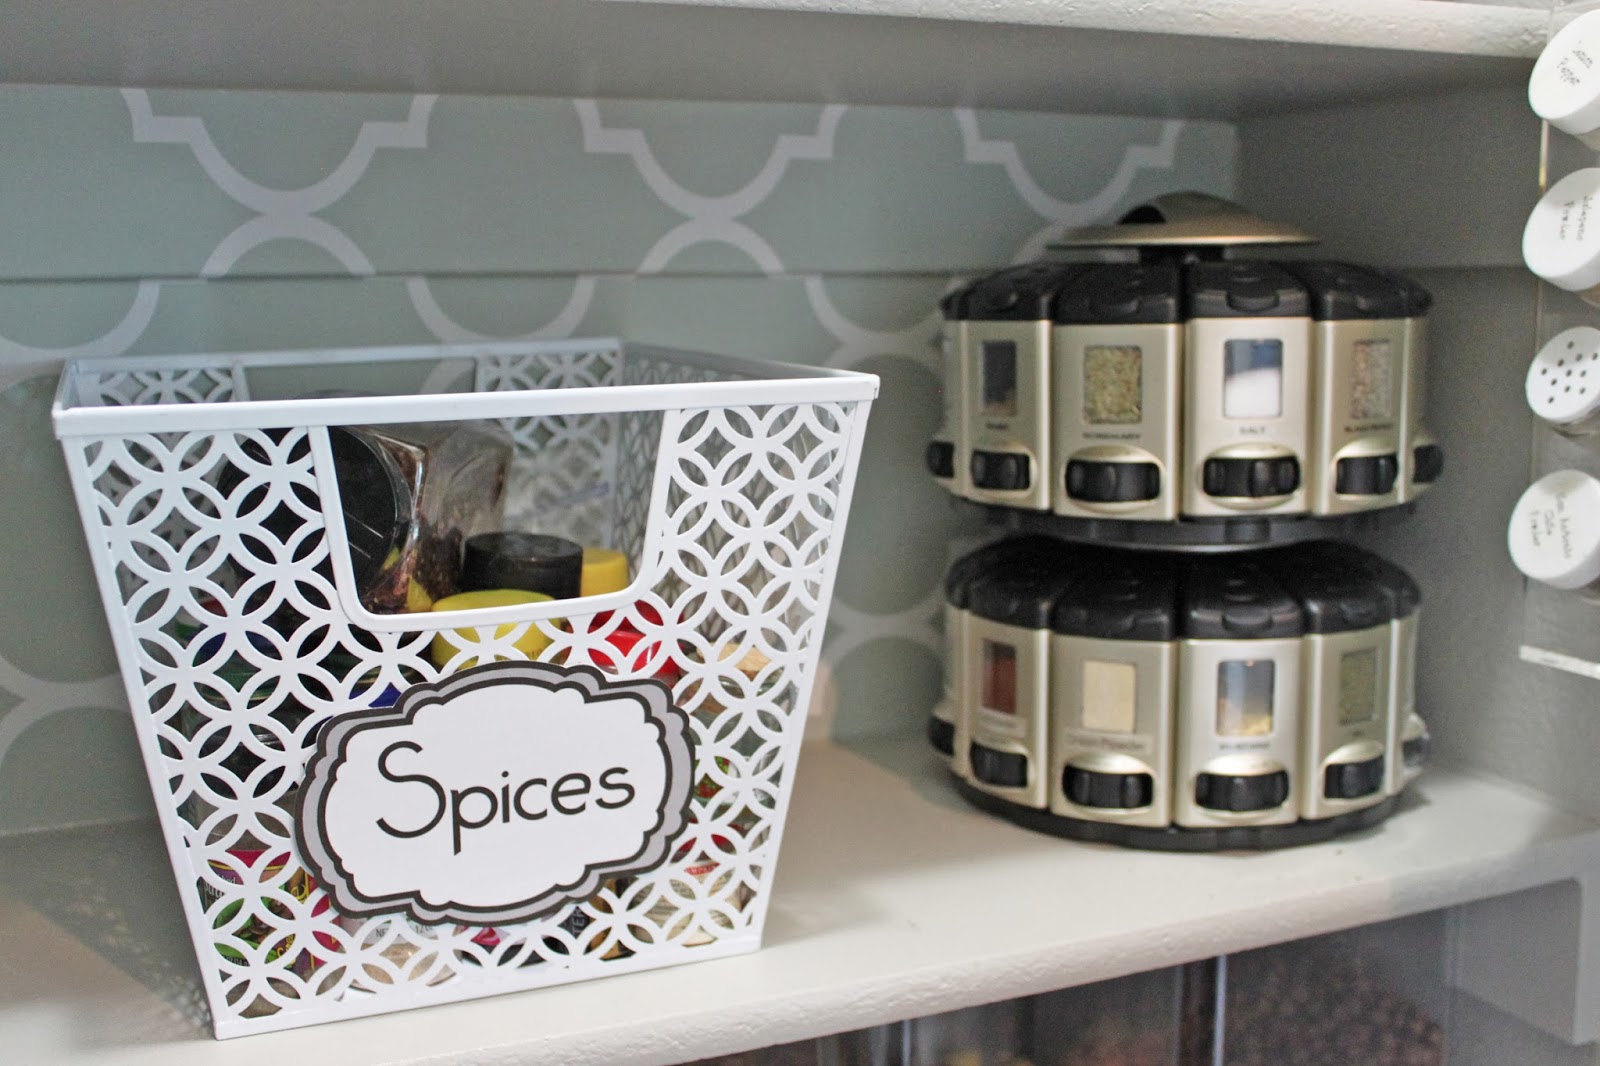
My spices are now neatly tucked in a corner.  Anything that didn't fit into that nifty spinning spice thingy, is now in a pretty white basket.  

The spinning spice rack (which also measures your spices!) is something that I use multiple times a day.


DIY Wood Crates

If you are like me, you hate food on the floor.  To see how I solved that dilemma, click here!


Source List for Pantry

Wallpaper                         Etsy
Food Labels                       Etsy
Frosted Glass Containers       IKEA
Linen Bins (baking supplies)      IKEA
Metal Baskets (grains & pasta)   Target
Glass Containers (legumes)    IKEA
Large White bin (cooking oils)    Target
Grey bins w/leather handles   Target
Cereal Dispensers                  Amazon
White bins (snack foods)          Target
Spice Basket                       Target
Rotating Spice Rack               Amazon
Rolling Wood Crates   DIY @ A Little of This, a Little of That


Linking up here!