Sunday, August 7, 2011

I Spy Bag {a tutorial}

Pin It
This was such a fun and easy little project!  It has been on my to do list for literally years! 


I finally got around to making them, and wanted to share with you how you can make one too!


Supplies needed

1/4 yard fabric
1/8 yard clear vinyl (found at all fabric stores, and even wal-mart!)
Plastic Pellets (found on doll aisle at Hobby Lobby)
Miniatures
Sewing machine
Scissors


Start by cutting out all your fabric

You will need:
Two strips measuring 4.75"x2"
two strips measuring in 7.75"x2"
A square piece of fabric for the back measuring 7.75"x7.75"
Clear vinyl measuring 4.75"x4.75"


Sew the two 4.75"x2" strips to opposite sides of your vinyl, like this-


Take one of your 7.75"x2" strips and pin it, right sides together, to your square.  


Sew it.  Should now look like this:


Take your other 7.75" x 2" strip and pin it to your square.  
Right sides together!!


Sew it, and it should look like this:


Now, take your back piece (7.75" x 7.75") and pin it to your completed square, right sides together.


Sew all four sides, leaving a small gap on one side to pour in your plastic pellets and miniatures.  Like so:


Turn your bag right side out, and iron if you think it needs it.
(do NOT iron the vinyl....just the fabric)


Now for the fun part!

Choose your miniatures.  I found all mine in the scrapbooking aisle at Hobby Lobby and on the dollhouse aisle. 


I love miniature stuff!  Some of my favorites:


 Click to enlarge and see the cuteness!


I  let my kiddos choose which ones they wanted in their bags.


Next up, add the plastic pellets.  I used 2.5 cups for each bag.


Sew your hole closed, and now you have an I Spy bag!!


Close ups:

Mr. A's bag


Miss J's bag


I added a tag to each bag with a picture list of everything inside.  It helps me turn it into a game for them.  I just say "can you find the ____ ?"


I found clip art images of the items, and used Word to make the tags.  Each tag is 4"x4", and is laminated for durability.


To attach the tags to the bags, I used large eyelets (also called grommets).


All Done!


Thursday, August 4, 2011

Presenting.....

Pin It
Hey friends!  

If you read my blog, you know that I've been expecting a little bundle of joy.  

She's finally here!


Little Miss E

8lbs 13 oz, 20 inches long.

Right now I'm focusing on getting some sleep, and playing with my other two kiddos.

I'll be back soon with a fun tutorial!

Wednesday, July 20, 2011

Art Birthday Party

Pin It
If you saw my post here, you know that Miss J wanted an "Art Party" with a ruffly rainbow cake.


Here are some photos from her super fun party!


Balloon Banner


Party Food


Rainbow Marshmallows


yummmm


Rainbow Twizzlers
(a huge hit!  I had no idea how much the kiddos would like these!)

Aren't the clear paint buckets cute?  I am in love.


Assorted goodies


Mini Cupcakes


Bottled Water


Activities


 CANVAS PAINTING

I found the cutest art smocks here for everyone to wear-they got to take one home.


It was fun seeing everyone paint!


Lots of creativity, and lots of mixing colors!


FACE PAINTING
We had a local face painter come, and it she did a great job!


PHOTO OP!

I found this fun frame at Goodwill for a few bucks.  

After a quick coat of spray paint we had a fun photo prop!


Some fun shots:


PARTY FAVORS

No party would be complete without party favors!

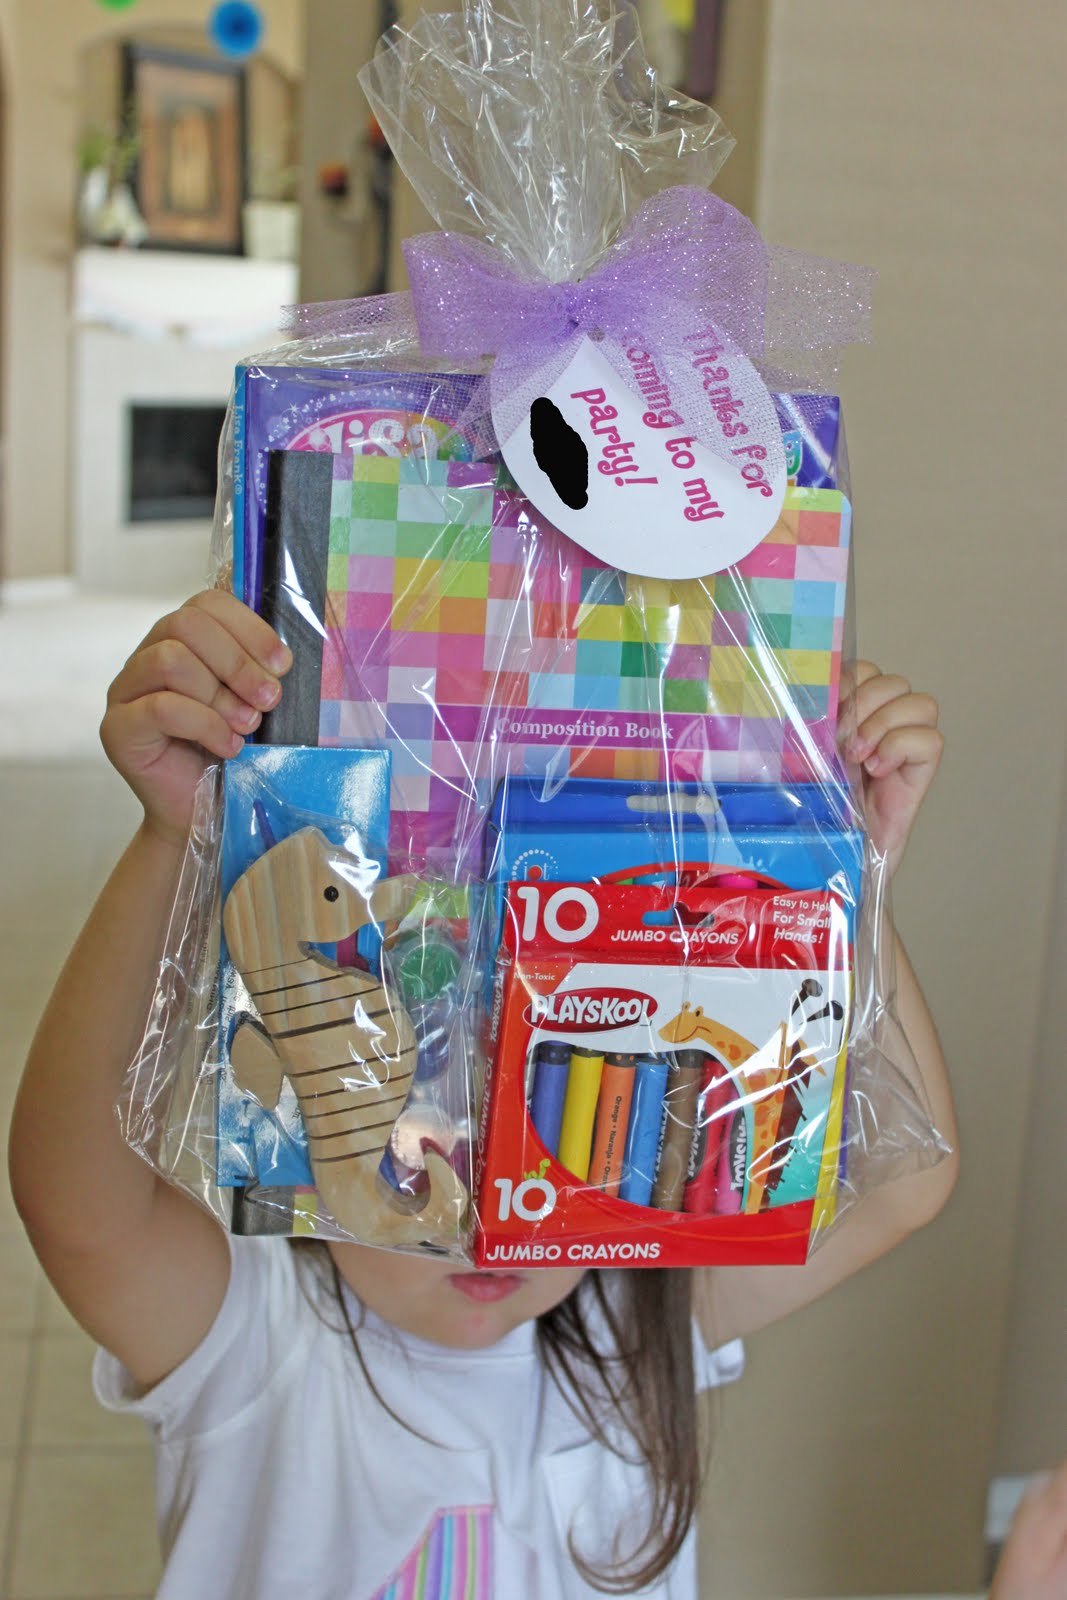
Miss J wanted to include everything you would need to be "artsy" at home-a coloring book, composition notebook, markers, crayons, and a paint set.


Overall Jane & her friends had a great time!


Sources and Ideas:

Paint and No Spill paint containers found here and here
Kids art aprons found here
Clear paint buckets for food found here
Balloon Banner Tutorial found here
Rainbow Sprinkle Marshmallow idea found here
Ruffle Top Cake idea found here

I'll have another post up soon with free printables from the party! 

Saturday, July 16, 2011

{Modern} Monogram Quilt - The TUTORIAL!

Pin It
I am SO excited to be guest posting at UCreate today!  

Kari's blog is one of the first I started reading when I discovered this whole crafty blog world!

U Create

It took me forever, but I got a tutorial together for my Modern Monogram Baby Quilt.  


Head over to UCreate for the FULL tutorial!


U Create


Tuesday, July 12, 2011

Rainbows & Ruffles

Pin It
Miss J is 4!  
I can't believe it!


For her birthday, she wanted an "Art Party".  It was so much fun! 

My favorite part was the cake.  I haven't had this much fun making (and eating) a cake in a long time!

My inspiration for the cake was one I saw at Whisk Kid

Instead of making a cake from scratch, I just used boxed cake mix, and Wilton food coloring (aLOT of food coloring!).


Here's how my cake turned out!


I love how bright the layers are!


Here's the whole sha-bang:


Top of the cake:


I ADORE the ruffles.  Miss J seemed pretty excited too :)


To make the ruffles, I used Wilton tip #103(the rose tip), and made zig zags all over the top.

In the colors of the rainbow of course!


Crafty Mama was the inspiration on the ruffles!

More details on the Art Party to come....

Friday, July 8, 2011

How to be a {superhero}

Pin It
Make believe and dress up are a regular activity around these parts!

Miss J been requesting her very own superhero get up for a while. 


Who am I to say no??


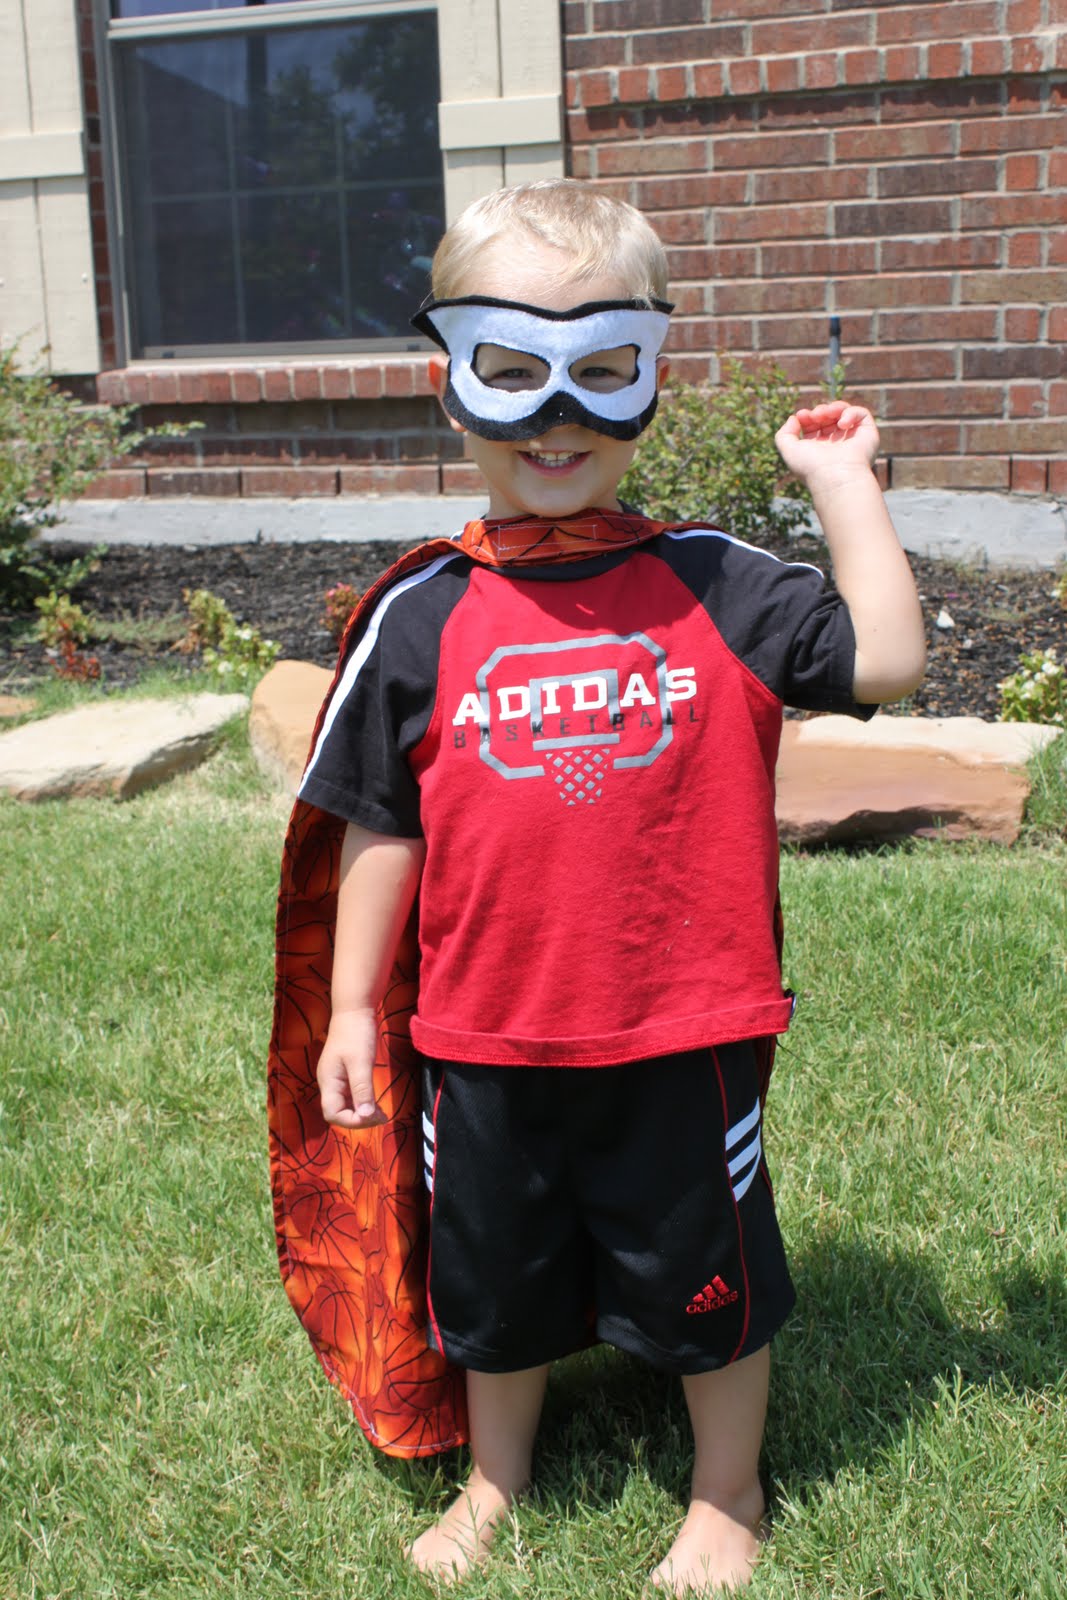
Aren't they cute?!


The mask and cape were pretty easy to make. 

The pattern for the mask can be found here.


I made mine out of felt, sewed them together, added a little elastic, and voila!


For the cape, I followed the tutorial over at Puking Pastilles.


The applique patterns I used on the back of the capes can be found here.


Overall, it was a VERY easy sewing project.  I just used scrap fabric laying around. 

My niƱos are happy superheroes!