Last day of place mat tutorials!
In case you missed the others:
On to the Wicked Witch Hat!
This one was my favorite :)
- Cut out (2) pieces of white fabric to 15.25x15.25 inches (or use whatever measurements fit your table the best)
- Cut out (1) piece of tear away fabric stabilizer 15.25x15.25 inches (this will keep your fabric from puckering and moving as you applique)
- Cut out Witch Hat and hat band (see pattern below)
- If you want lettering, cut out letters. (I used my Cricut to cut out my letters, but there are a variety of ways to do lettering.)
- Lay the fabric stabilizer under your white fabric, and then pin the witch hat in place.
- Applique the hat to your fabric by satin stitching all edges.
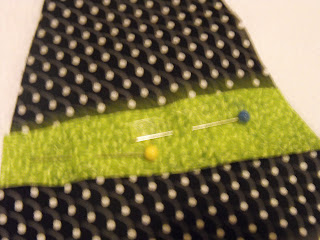
- Pin hat band to the witch hat, and applique all edges with a satin stitch. (whoaaa. blurry, I know. sorry guys!)
- If you are using lettering, pin the letters to your fabric, and satin stitch all edges. (using heat n bond to attach your letters is another way of doing it; I have used both methods)
- Pin remaining piece of white fabric to the piece with the appliques on it. (RIGHT sides together)
- Straight stitch all four edges, leaving a small hole to turn the fabric right side out.
- Turn fabric right side out and press with an iron.
- Top stitch around all four edges.
- Done!!
Happy Sewing!


Wow! This is fantastic! I hope you'll come link it up to my Halloween party this weekend. www.whilehewasnapping.blogspot.com. It would be such a great addition! It looks wonderful!
ReplyDeleteKrista
soo cuute something i need to try :) i dont sew but i need to lol.
ReplyDelete