Friday, November 18, 2011

{Kids Bathroom} Makeover!

Pin It
We have finally moved our ninos out of the master bathroom and into their own!  

I started out framing their mirror for $20!
  
(Read about it here)

I then decided I wanted to panel the one wall in the bathroom like Emily @ Decorchick did:


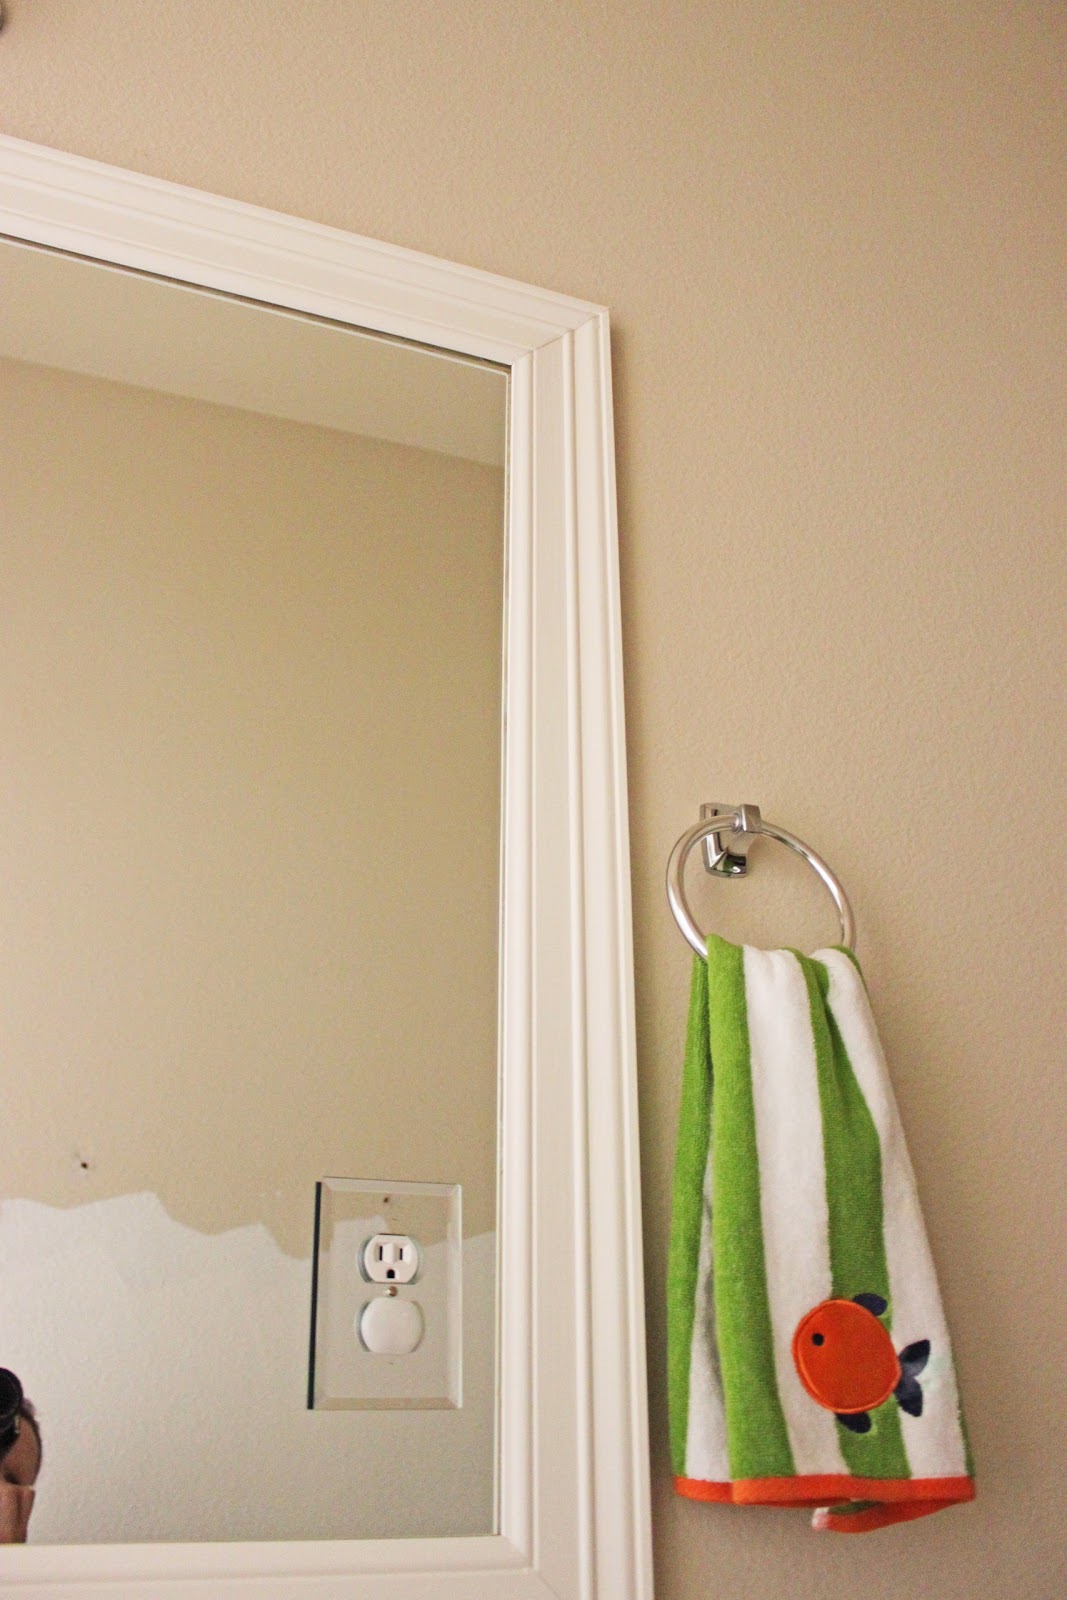
Here is my "towel wall" 
BEFORE


Just so you know....I had to hang the towels up to take a picture.  I'm sure the towels are never on the floor at your house, right??

Another shot:


It all looks pretty plain and blah.  AND, the towel rod was WAY too small to really hold any towels, after you wrestled them on there.


Following Emily's great instructions, my paneled wall turned out like this!


I'm lovin' the hooks I found for their towels!


Here it is with all the towels hung up:


And guess what?  We have had NO towels on the floor since I finished this project!  It's so much easier for my kiddos to hang up their own towel.
I feel like a genius!  (j/k)

Here is the bathroom after a fresh coat of paint, a framed mirror, and a paneled wall:


Much Better!


Linkin up here

Tuesday, November 1, 2011

$20 DIY Mirror Frame: The Tutorial!

Pin It
Hope y'all had a great Halloween! 

If you read my post here, you've seen how my plain, boring mirror turned into a framed beauty!


Before:


After: 


Here's the How-To!

Supplies needed:
Molding (my is actually window casing, and is 3.5" thick)
Trim Paint (I use semi-gloss finish)
Liquid Nails
Paintable Caulk
Miter Saw


The first thing I always do is paint my boards! Paint the front AND back.  The backside will reflect in the mirror.


Next up, measure your mirror. 


I measure one side at a time, and cut the molding for that side.  I clearly label each piece, because each side will be a littttle different (around .25" difference)

 (I forgot to take a picture of me cutting the molding....a pic of my miter saw will have to do!!)


After you've measured and cut all four sides, time to put it up!
I used liquid nails, and glued right to the mirror.


Make sure you level each piece....

To make sure none of my pieces moved while drying, I used blue painters tape to hold them up.


After they were all dry (I let my pieces dry overnight), I caulked the four corner seams.


I then gave a touch up coat to the corners that I caulked.


All done!


Close up of the corners:


Cost Breakdown:

Molding - $20
Paint - Leftover from previous projects
Caulk/Liquid Nails - Leftover from previous projects

Total: $20!

***for those of you that have those pesky plastic mirror holders***

These were holding up my mirror on top:


I could not glue the molding on top of them!  After googling around a little, I figured out that I could just unscrew them,


and then shoot a little liquid nails behind my mirror.


I let that dry overnight.  I took off the mirror holding thingies the next morning, and voila!  Done!  No more pesky mirror clips.

Friday, October 28, 2011

{Last Minute} Halloween Ideas!

Pin It
We hosted a funnnnn playgroup at our house today!  

I thought I would share with you all the fun ideas I used for food and games!


Salty Bones

(bread sticks with marinara sauce)


Frankenstein Pudding


Mummy Juice


Aren't these cute?!!


Witch Wands


(pretzels dipped in almond bark)


Mummy Dogs

(hot dogs wrapped in crescent roll strips)


Creepy Crawly Crispies


Test Tube Treats
(Party Favors)


Pop the Pumpkin Game!

*almost* all the kiddos loved this!  I had darts that they got to pop the pumpkin with.  A hit!


Hope some of these ideas will help your Halloween be a little more fun!

Monday, October 24, 2011

$20 DIY Mirror Frame

Pin It
I've been wanting to "frame" the mirrors in our bathrooms for like.....forever! 

I've always been a little intimidated by it.  What if I messed it up?

Well, I'm here to tell ya that it is pretttttty easy!


Here's the mirror 
before


Here it is 
after!


A close up of those beautifully mitered corners.....


Sigh.  Love.


I think it turned out pretty great for $20!


Come back later this week for the FULL tutorial!