


Sinus surgery. Uggghhh! That's what I've been doing the last few weeks. Good news is that it's over, and I'm feeling much better. I have reaffirmed the fact that I am not a fan of surgery, nor am I very good at the recovery part. You know, the part where you are supposed to take it easy? Nope, I'm not very good at that!
One of my first blog posts was how to use a doormat to create wall art. You can find it here. The finished product was this:

I love this wall art! So easy and cheap to make. However, I felt it looked a little.......unfinished. It's been driving me crazy for months! So, I decided to "frame" it.
Supplies Needed for a {DIY} Frame:
Pre Primed Crown Molding (several aisles of it @ my local Lowe's. Just get a thickness and type you like. Any kind will do)
Miter Box and Saw
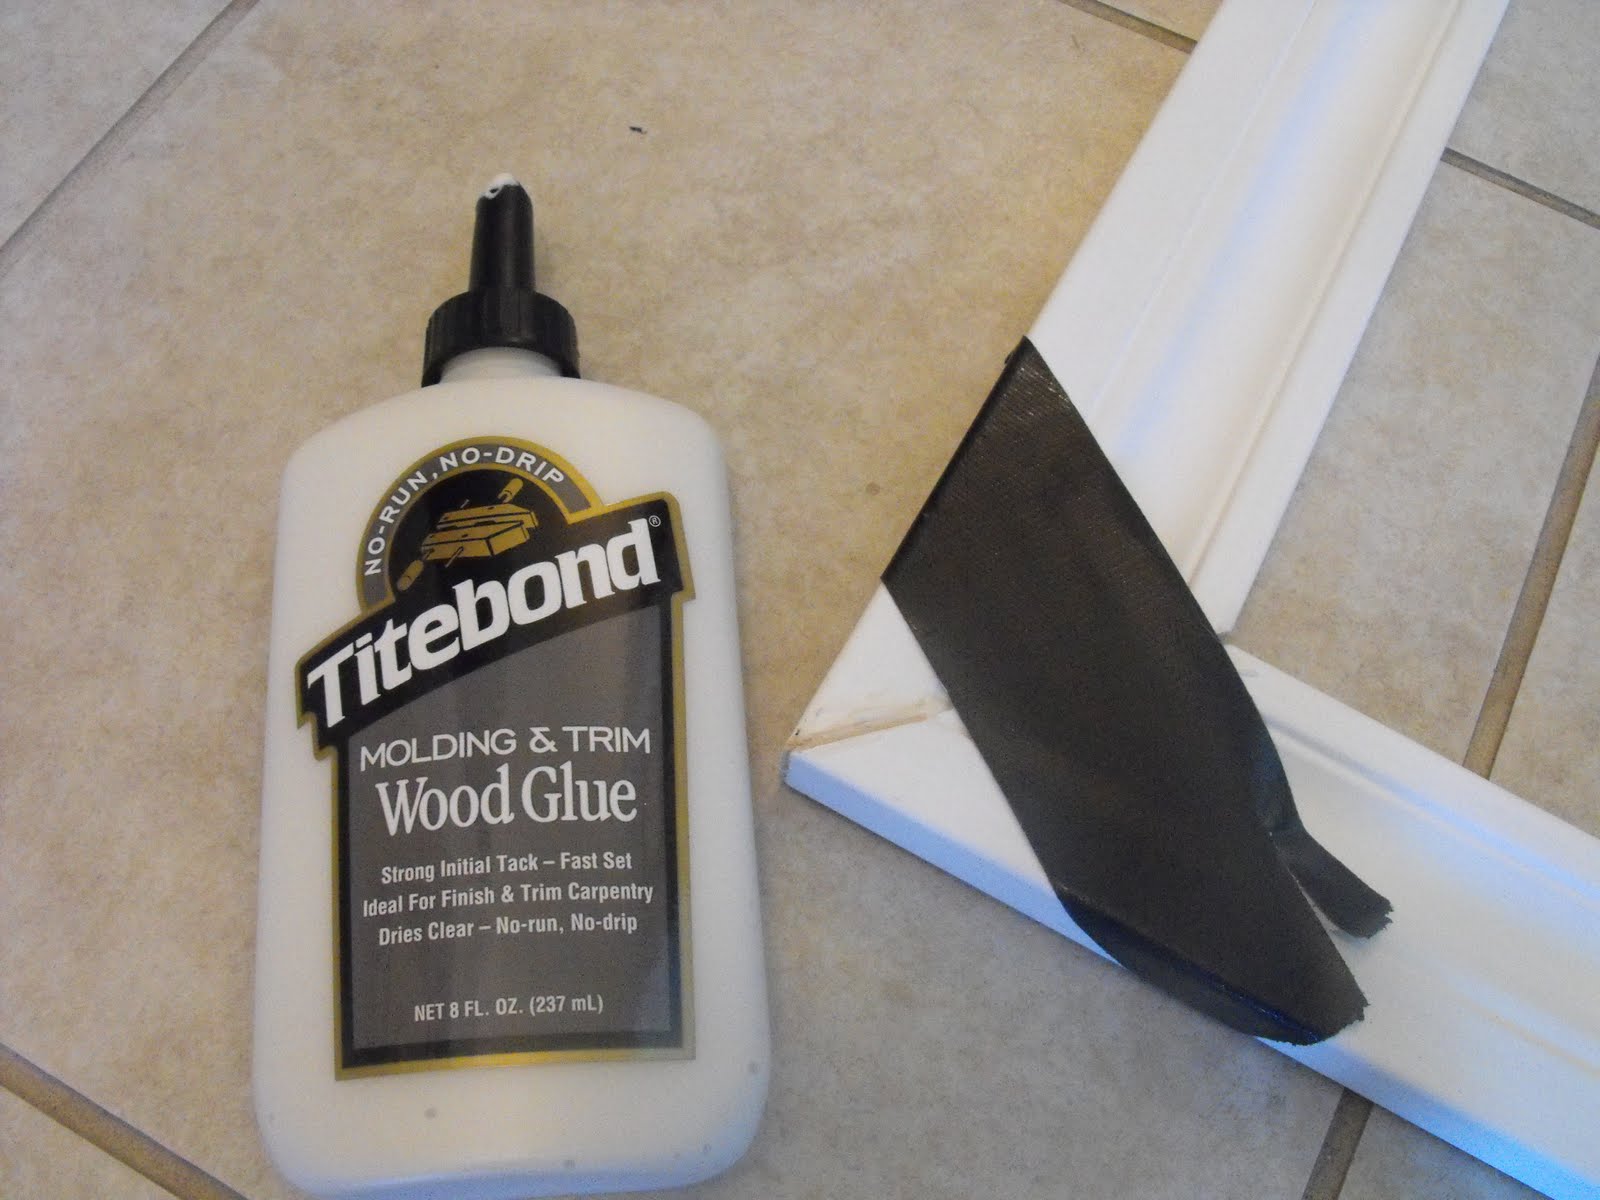
Wood Glue
Staple Gun
Liquid Nails (Gorilla glue would work too)
Gorilla Tape (any strong tape will work)
How to make your own frame, from scratch!
- Measure the object you want to frame. For example, if your picture/art is 12 inches long, you will want to cut the molding to be a little shorter than that. You want to leave an edge to attach your picture to the frame when finished. (like this)

- Use your miter box and saw to cut the molding at 45 degree angles (There are angle guides on the miter box to help)


- My art was a square, so I cut all my pieces the same length. If you art is not perfectly square, measure one side, and cut the opposite side to the same length. (here's mine with all four sides cut)

- To give your frame extra durability, line up your corners and staple them on the back of your frame. Like so:

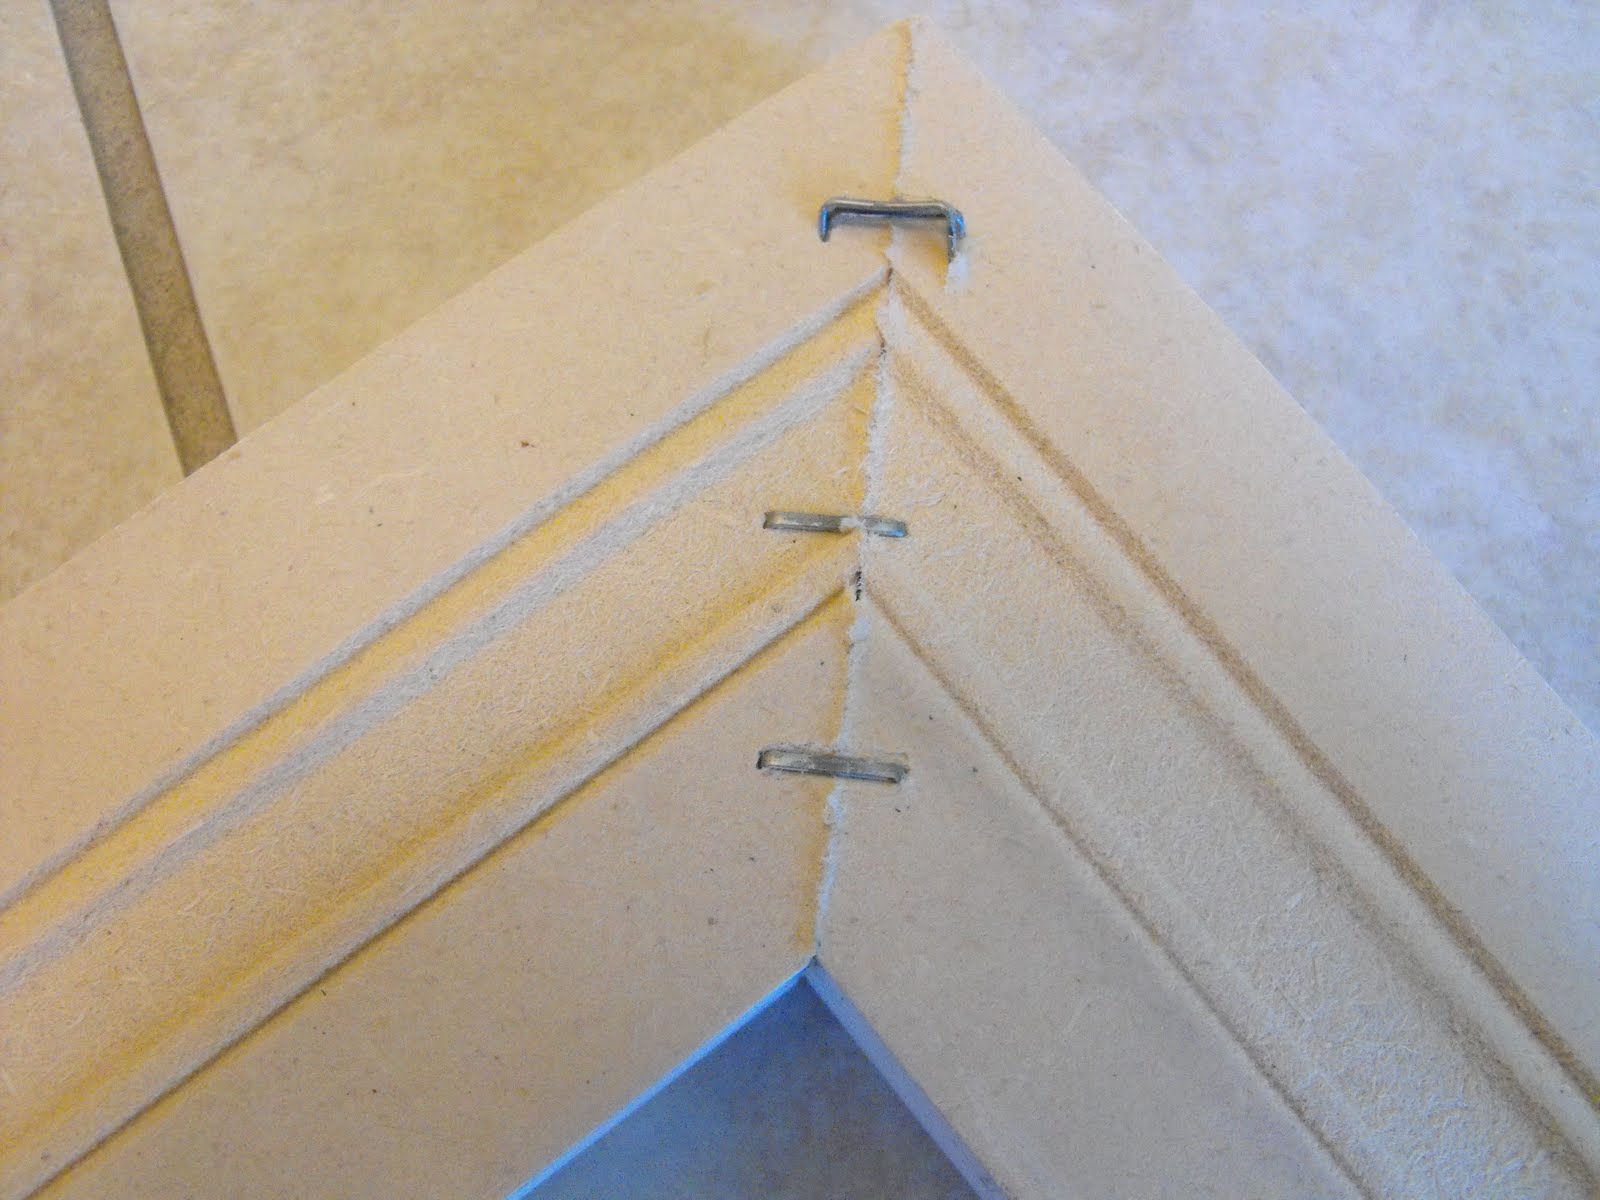
- Repeat this for all four sides
- Flip your frame over, and add some wood glue to the front to "seal" the edges nice and tight. You will need to clamp together your corners for a few hours to let the glue dry. Gorilla tape is GREAT for this!


- Once your edges are dry, you can lightly sand away any excess glue that dried.
- Next, spray paint your frames the color of your choice (they are already primed if you buy the pre-primed molding)

- TIP: If you ever buy Valspar spray paint (from Lowe's) and wonder what the color is called, look on the label. (took me forever to figure this out!!!)


- Once your frames are nice and dry (give them several light coats, allowing them to dry in between), you are ready to "frame" your picture/art!
- On the back side of your frame, use a thin line of Liquid Nails. Attach your art and let dry for 6-10 hours.

- NOTE: Liquid Nails is SUPER strong, so that's why I chose it. My art is made of plywood, so it needed something really strong.
- Here are some finished shots:


- Here they are in our piano room


- Before

- After


As cool and impressive as your DIY projects are . . . I have to say I'm mostly awed by your beautiful baby grand piano! Jealous! Someday when I have a bigger house I can get a bigger piano. :)
ReplyDeleteI think framing it gave it an extra texture!
ReplyDeleteVery cool idea. Thanks for sharing
ReplyDeleteGreat improvement! La
ReplyDeleteYou're right- looks more complete now :)
ReplyDeleteGreat tutorial! Thanks for posting!
Hi Sarah! I just did a little feature on this on my blog. I've needed a frame tutorial for a project that I have in the works! Thank you for sharing such an easy to follow tutorial!
ReplyDeleteIf you have a minute, please drop by my blog and enter my CSN GC giveaway!
Sharon
Enjoy your weekend!
Woman! That's too cool, honestly, where do you come up with this stuff?
ReplyDeleteVery nice job...
ReplyDeleteI love this!
Thanks for joining Get Your Craft on Thursday at Life as Lori
I love the frames - they really finish off the pieces! I really appreciate the tutorial as well. I have something that I was thinking about framing, but wasn't sure how much work it would be. You made it seem really easy. Thanks so much for sharing with us!
ReplyDeleteWow what a great idea! So original and they look so good. Thanks for sharing!
ReplyDeleteYour blog is wonderful. Very inspiring. New Follower. = ))
ReplyDeleteI love this idea...which is kinda funny, cause when we were at Lowe's last week, I told my love...wouldnt this be cool wall art...I guess we all look at things and think WHY NOT!
ReplyDelete