Tuesday, May 17, 2011

Stencil your own Window Treatments

Pin It
If you read my post here, you'll know that I recently tried to make my own stencil....yeah, it didn't turn out so good :(


My lovely sponsor, Cutting Edge Stencils, generously offered to let me try out any stencil from their site.  

I chose the Parsley Blooms.
I wanted something not geometrical, and not too floral....

I loved that it came in two sizes.  The biggest stencil was 20" across, and the smaller one was 15" across.  

Perfect for drapes!


I started out with some plain white drapes from IKEA.  They were only $20 for two 98" panels

Do you know how expensive window treatments are?  
This was a steal worth driving an hour for!


I used my stencils, some plain old acrylic paint, and stencil brushes.


Steps to stenciling your own Window Treatments!

1.  Carefully tape your window treatment to a large open area so you can stencil the whole thing all at once.
(don't mind the wrinkly-ness.  I ironed it a little before stenciling....)

2.  Decide how you want to position your stencil. 
I used a little blue painters tape to hold my stencil in place.


3.  Using a roller brush (loaded with paint but not dripping), roll right over that stencil!

Carefully peel back your stencil to see your fantastic result!

I was worried at this point-I was CONVINCED that the paint was going to bleed underneath the stencil.  I was so happy that it didn't!

4.  Repeat a million times, until you cover your window treatment with as much design as you want.
FYI-Even after repeated use on two panels, I never had trouble with paint bleeding underneath the stencil.

5.  Go back over your treatment with the stencil in another color, if you like.
I wanted a two tone look, so I went with a lighter shade of purple for my second stencil.


I let the stencils overlap in a few areas; I liked the way it looked.

Don't you love how crisp the design is?  These stencils really are great!


My one word of caution: put something under your window treatment while you stencil it....the paint went right through my drapes, and on to my tile floor!

My hubby came home and was like "why is our floor painted purple??!"  All it took was a little elbow grease and water to get it up!


Now, would you like to see the finished product?


Close up of the design:

I think they turned out lovely!

They are bright, and a little on the modern side.  It goes well with the rest of the nursery!

Monday, May 16, 2011

{How To} NOT make your own stencil

Pin It
This post is going to start with a big fat FAIL.  I don't usually share all my craft failures, because really, who wants to read about it?

I *attempted* to make my own stencil....I thought I would be all thrifty and just do it myself.

I've been wanting to stencil my own drapes in Miss E's nursery, so I thought I could just make the perfect stencil.

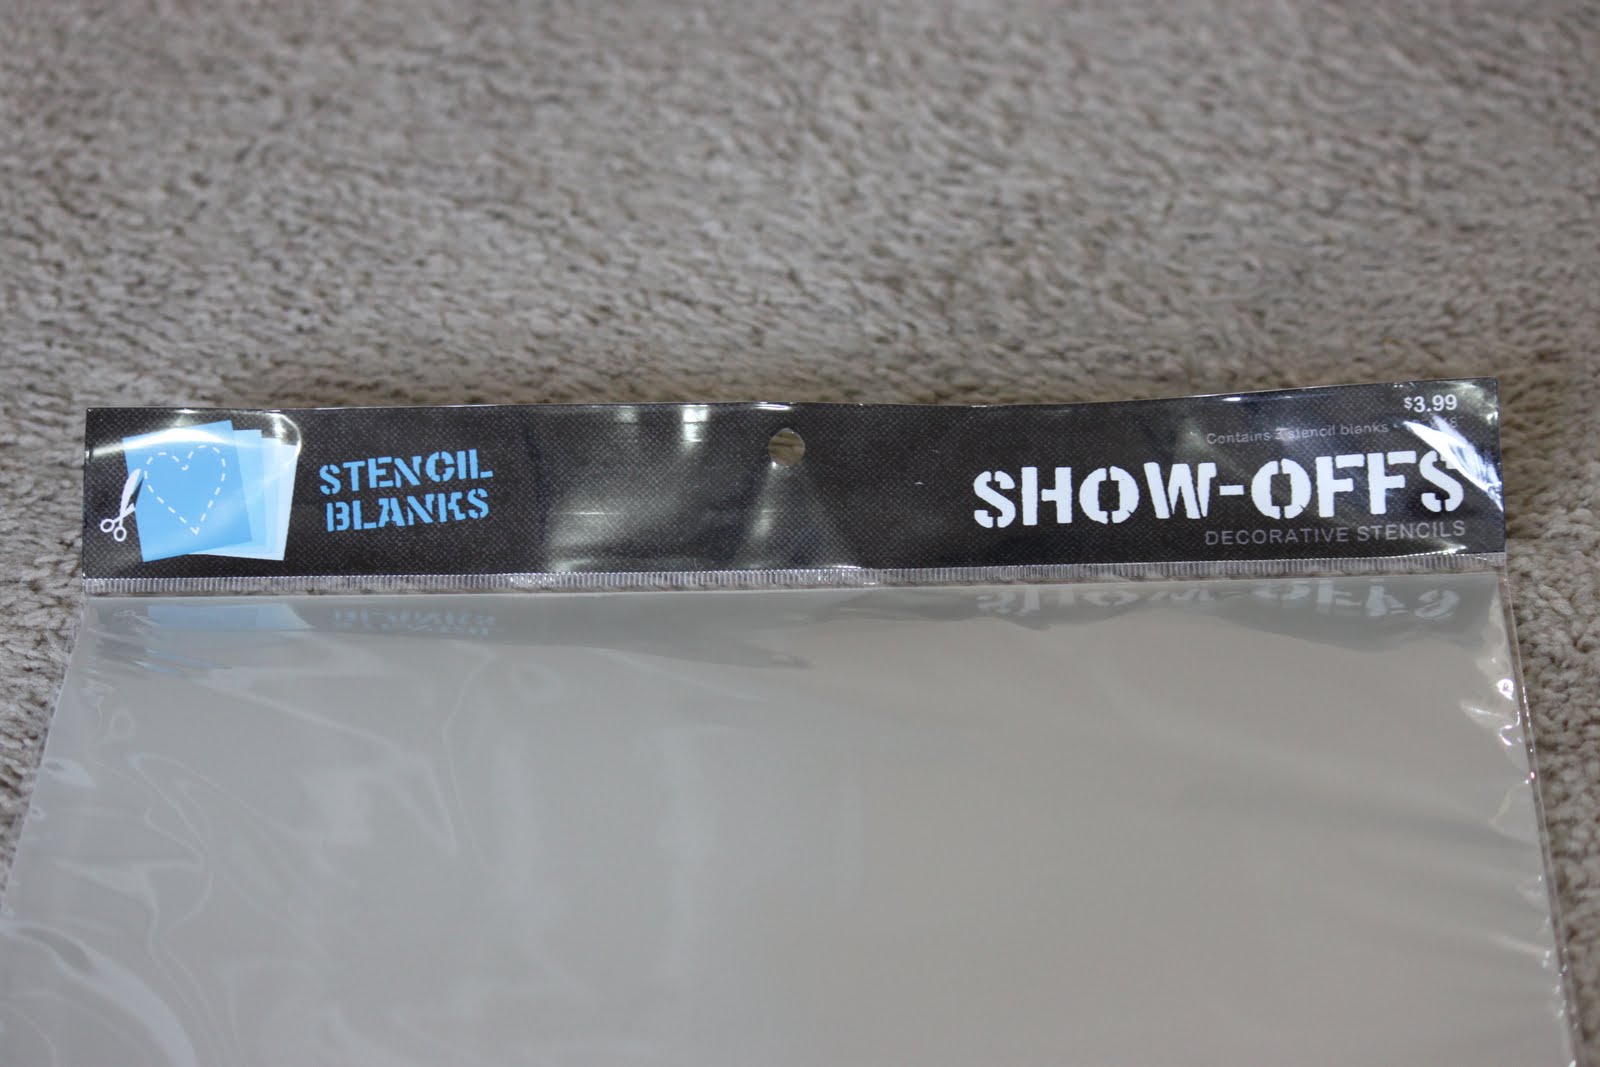
I started with some stencil blanks from Hobby Lobby.  
Cheap, and there are 3 in a pack.


I printed off my design, laid it carefully underneath a stencil blank-


 and started tracing.


Then, I got out my exacto knife and started cutting.....and cutting....


A close up of how UGLY  this was looking!


I was frustrated, but decided not to give up.  I printed off the free quatrefoil design Jen offers, and made another stencil.

This one turned out MUCH better, but after spending an hour cutting it out, I realized the design was SO small that it would take me FOREVER and a day to stencil my curtains. 

I ended the day in craft defeat-almost!

I then emailed my sponsor Cutting Edge Stencils.  I told them about my disaster, and they offered to send me any stencil off their site for free!

Want to see how it all turned out?  Stay tuned!

Tuesday, May 10, 2011

Our {new} Home Office: A Tour

Pin It
Do you have a room in your house that bugs you?  Well, mine was our home office.  It never looked the way I wanted it to!

I had a lot of autumn-ish colors going on.  I was sick of perpetual fall in our office.  

I wanted light and airy-more of a gray/yellow/white combo.  These fabrics were my inspiration:

Don't you looooove them?  I do! 


I started with paint.  Ahhhhh yes.  The easiest way to transform a room.   I decided to go with gray. 

If you've ever tried to choose the perfect gray, you feel my pain!

After several samples of paint on our wall, we finally chose the perfect gray.....or so I thought!


 I went with Valspar's Polar Star.

I painted mostly at night, when the kiddos were asleep...and I'm 7 months pregnant.  Imagine my surprise the next day when I wake up to discover that my perfect gray was gray-BLUE!  I almost started crying!
There was NO way I was going to re-paint the whole room, so I decided to live with it.  And you know what?  I love it now! 


I found the perfect rug that is gray-blue to accent the room. 
Here it is:

Modern, and not floral.  Those were my requirements.


 The area above our desk was looking a little bare after painting....


So I jazzed it up with black frames, my favorite B&W prints of our family, and some vinyl.


Much better, right?
 
I did the vinyl myself on my Cricut. 
It's the biggest project I've ever done with vinyl.  
The monogram measures about 36 inches across.


Next, I found some fun frames to add to the desk.

One of my fave pics of me and the hubster.


 I found this frame at Home Goods. 
I love the swirls...it's a good contrast to the stark black/white/gray in the room.

I found this little vase at IKEA, and thought it added a nice pop of yellow.

Found this lamp at Home Goods also.  We've had it for a few years, but I still really like it.


Here's the desk side of the room:


Opposite of the desk is the bookcase wall:


I love my little nook in between the bookcases-

The vases are all from IKEA.


The mirror is my FAVORITE part of the room.  I love it!!!
(from Home Goods)

I used some of my inspiration fabric to frame a quote:


We have really lovely bay windows in our office, and they let in tons of natural light.


Close up of vinyl above windows:


I realllllly wanted to do window treatments on these windows in a fun yellow/gray fabric, but the hubby says no.  He likes the uncluttered, minimalist look we have going on.  I must admit, it's growing on me.  So for now, bare windows :)


I think that's about it! Hope you enjoyed our home office tour!

Linking up here! 
and @ Under the Table and Dreaming

Wednesday, May 4, 2011

Easy {boutique} Burp Cloths

Pin It
I have made many burp cloths over the years!  

This is the easiest kind for me to make for new mommies-to-be, and thought you might like my quick and easy tutorial!

(if you can sew a straight line, you can make these!)


Supplies Needed:
Fabric in two coordinating colors
Sewing machine
Scissors
Ruler
(told you this would be easy!)

Step 1.  Cut out your fabric into 11x16" rectangles.  (one of each fabric)


Step 2.  Pin RIGHT sides together.

Tip: when sewing with minky fabric, pin the heck out of it!  It will keep the fabric from moving, and will look great when done!


Step 3.  Sew all four sides, leaving a small opening to turn it right side out.


Step 4. Turn your burp cloth right side out.


Step 5. Top stitch all the way around your burp cloth, making sure to tuck in the "hole" you left for turning.


DONE!


Close up:


A few more cute burp cloths:


Tuesday, May 3, 2011

Brown Paper Packages

Pin It
Have you ever been to Brown Paper Packages?  
If not, you are missing out on a seriously cute blog!  Kierste has so many original and fun ideas. 


Want to know how to make an adorable burp cloth in five steps??
Seriously, five steps!


If you can sew a straight line, you can make these!


Check out the tutorial here!


Tuesday, April 26, 2011

Rainbow Cake {in a jar}

Pin It
I had SO much fun making this that I had to share it with ya'll!

I have never tried making cake in a mason jar before, but it totally works, and is SO cute looking!

Go here for the recipe, and I'll give you my tips to make it turn out great!


Start with some yummmmmmy looking cake batter, divided into several bowls.
(I used neon food coloring for all my colors)


Spoon in one layer at a time, filling your jar about halfway with all your colors.  Like so:


TIP: the first time I tried "layering" my batter in the jars, it was WAYYYY too runny.  Add about 2 tsp. cornstarch, and 1-2 Tbs. of flour to each bowl.  It will thicken it up, and make it much easier to "layer".


Bake at 350 for 20 minutes, and top with frosting and sprinkles when cool.

Love it!!


FYI: I used half pint mason jars.
(because I love stuff that is miniature!)